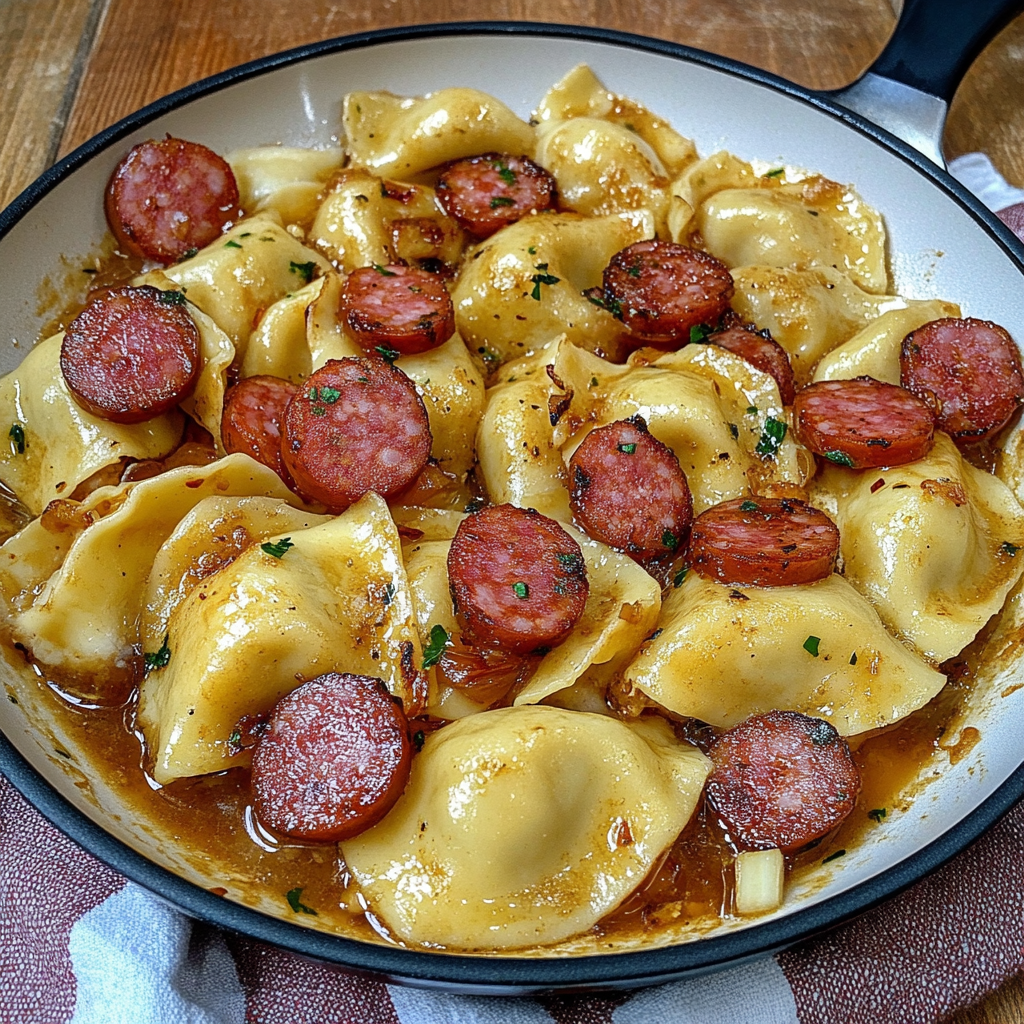
If you’re looking for a hearty and satisfying meal, Pierogies and Kielbasa should top your list. This delightful combination brings together the comforting flavors of Polish cuisine, featuring tender dumplings filled with creamy potatoes or cheese paired with savory kielbasa sausage. Not only is this dish indulgent, but it also offers a wonderful balance of textures and flavors that will have everyone asking for seconds. quick and flavorful meal In this recipe, we’ll guide you through each step to create perfectly cooked pierogies and kielbasa that can be enjoyed any day of the week. easy protein-rich meal Whether you’re planning a family dinner or hosting friends, this easy-to-follow recipe is sure to become a favorite. Gather your ingredients and get ready to make a delicious meal that’s perfect for sharing and celebrating good times together.
Jump to:
- Why You’ll Love This Pierogies and Kielbasa
- Ingredients for Pierogies and Kielbasa
- How to Make Pierogies and Kielbasa
- Tips and Tricks
- How to Serve Pierogies and Kielbasa
- Make Ahead and Storage
- Suggestions for Pierogies and Kielbasa
- Use Fresh Ingredients
- Don’t Overstuff Pierogies
- Skipping the Resting Time
- Neglecting Seasonings
- FAQs
- What Are Traditional Fillings for Pierogies?
- How Do You Cook Pierogies?
- Can You Freeze Pierogies?
- What Sides Pair Well with Kielbasa?
- Conclusion for Pierogies and Kielbasa
- 📖 Recipe Card
Why You’ll Love This Pierogies and Kielbasa
- Quick and Easy Preparation: With straightforward steps and minimal prep time, this dish is simple enough for beginners while still impressing seasoned cooks.
- Rich Flavor Combination: The pairing of buttery pierogies with smoky kielbasa creates a mouthwatering experience that captures the essence of Polish comfort food. For more inspiration, check out this easy ham and cheese sliders recipe.
- Customizable Ingredients: Feel free to experiment with various fillings for the pierogies or different types of sausage to suit your personal taste preferences.
Ingredients for Pierogies and Kielbasa
Here’s what you’ll need to make this delicious dish:
- Pierogi Dough: You can either make your own dough using flour, eggs, and water or purchase pre-made pierogi dough from the store for convenience.
- Potatoes: Use starchy potatoes like Russets for a creamy filling; boil them until tender before mashing.
- Cottage Cheese: This adds creaminess to the filling; opt for small curd cottage cheese for the best texture.
- Kielbasa Sausage: Choose high-quality kielbasa for authentic flavor; it can be sliced or left whole depending on your preference.
- Onions: Sautéed onions add sweetness and depth to both the pierogies and kielbasa, enhancing the overall flavor profile.
The full ingredients list, including measurements, is provided in the recipe card directly below.
How to Make Pierogies and Kielbasa
Follow these simple steps to prepare this delicious dish:
Step 1: Prepare the Filling
Boil about two cups of peeled potatoes until fork-tender, then drain and mash them thoroughly in a mixing bowl. Combine with one cup of cottage cheese, salt, pepper, and any other preferred seasonings until well mixed.
Step 2: Make the Dough
In another bowl, mix two cups of flour with one egg and a pinch of salt. Gradually add water until you form a soft but not sticky dough. Knead gently on a floured surface until smooth.
Step 3: Roll Out Dough
Divide the dough into manageable portions. Roll out each portion on a floured surface to about an eighth inch thick. Use a round cutter or glass to cut circles from the dough.
Step 4: Fill the Pierogies
Place about one tablespoon of potato filling in the center of each dough circle. Fold over to create half-moons and pinch edges tightly to seal.
Step 5: Cook the Pierogies
Bring a large pot of salted water to a boil. Gently drop in the pierogies in batches; cook until they float to the top (about three to five minutes). Remove with a slotted spoon.
Step 6: Sauté Kielbasa
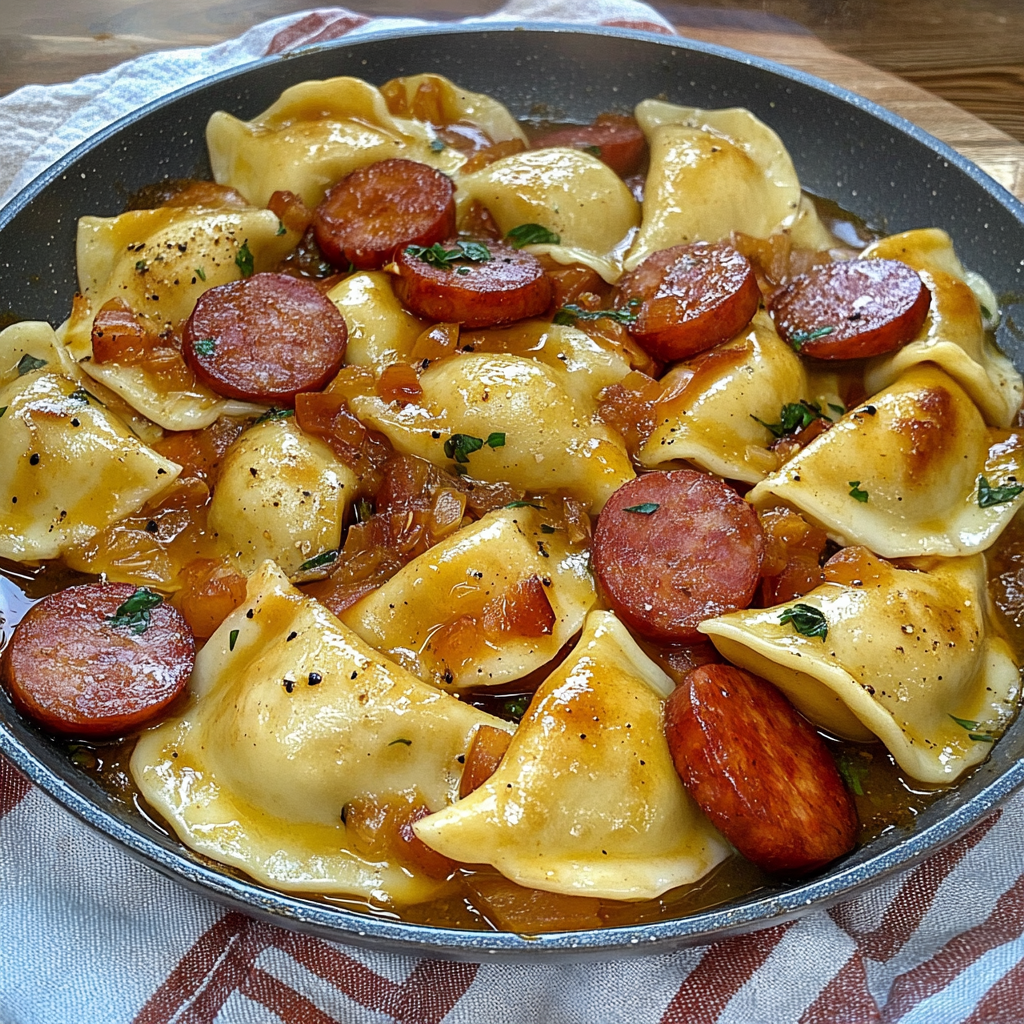
In a skillet over medium heat, add sliced kielbasa with chopped onions. Cook until browned and heated through (about eight minutes). Add cooked pierogies into the skillet briefly sautéing together before serving.
Transfer to plates and drizzle with extra sautéed onions for the perfect finishing touch.
Tips and Tricks
Here are some helpful tips to ensure the best results for your dish:
- Dough Consistency: Ensure your dough is soft yet slightly tacky; add more flour if necessary during rolling.
- Bake Instead of Boil: For an alternative method, you can bake your pierogies after boiling them for a crispy texture.
- Batch Preparation: Consider making extra pierogies ahead of time; they freeze well for future meals when cooked from frozen.
How to Serve Pierogies and Kielbasa
This Pierogies and Kielbasa is versatile and pairs wonderfully with:
- Rice or Potatoes: A hearty base that soaks up the delicious sauce.
- Fresh Salad: Adds a crisp and refreshing contrast to the rich flavors of the dish.
- Crusty Bread: Perfect for enjoying every last drop of the flavorful sauce.
Feel free to pair it with your favorite sides for a personalized meal!
Make Ahead and Storage
- Make Ahead: You can prepare the pierogies in advance. Make the dough and filling a day before, then store them in the refrigerator for up to 24 hours. Assemble and cook just before serving for best results.
- Storing: Store any leftovers in an airtight container in the refrigerator. They will stay fresh for about 3 to 4 days. For longer storage, consider freezing them; properly sealed, they can last up to 3 months.
- Reheating: To reheat pierogies and kielbasa, place them in a skillet over medium heat with a splash of broth or water. Cover and heat for about 5-7 minutes until warmed through. Alternatively, you can microwave them on medium power for about 2-3 minutes.
Suggestions for Pierogies and Kielbasa
Use Fresh Ingredients
When making pierogies and kielbasa, using fresh ingredients is crucial. Fresh vegetables, quality meats, and homemade dough enhance the flavors significantly. Avoid pre-packaged or frozen ingredients whenever possible. Fresh ingredients deliver better texture and taste, elevating your dish from ordinary to extraordinary. If you must use frozen items, ensure they are of high quality. Always check expiration dates and look for seasonal produce to maximize flavor.
Don’t Overstuff Pierogies
One common mistake when preparing pierogies is overstuffing them. This can lead to tears in the dough during cooking, resulting in a messy presentation. Aim for a moderate filling that allows the dough to seal properly without bursting. A tablespoon of filling per pierogi is usually sufficient. This balance ensures that each bite has a harmonious mix of flavors while keeping the dough intact.
Skipping the Resting Time
Many cooks overlook the importance of resting time for both dough and cooked pierogies. Allowing the dough to rest helps gluten relax, making it easier to roll out thinly without springing back. After boiling, let your pierogies sit briefly before frying them for optimal crispiness. This resting period allows moisture to evaporate, resulting in a delightful texture when served.
Neglecting Seasonings
Seasoning is key when cooking pierogies and kielbasa. Many home cooks forget to season their fillings adequately, leading to bland results. Don’t just rely on salt; incorporate spices like garlic powder, onion powder, or even smoked paprika for depth of flavor. Additionally, consider adding fresh herbs such as dill or chives for a burst of freshness that complements both the pierogies and kielbasa beautifully.
FAQs
What Are Traditional Fillings for Pierogies?
Traditional fillings for pierogies vary widely but commonly include mashed potatoes with cheese, sauerkraut, or ground meats. Some regions feature sweet fillings like fruit or sweetened cheese as well. When making pierogies at home, feel free to get creative with your fillings! Combining flavors can lead to exciting new variations that suit your taste preferences while maintaining authenticity.
How Do You Cook Pierogies?
Cooking pierogies involves boiling them until they float and then optionally frying them for extra texture. Start by bringing a large pot of salted water to a boil before adding the pierogies gently. Once they float to the surface (typically after 3-5 minutes), they are done! If you prefer a crispy texture, finish them off in a hot skillet with butter or oil until golden brown.
Can You Freeze Pierogies?
Yes! Freezing pierogies is an excellent way to prepare meals ahead of time. To freeze them effectively, first boil the pierogies until they float but do not fry them afterward. Let them cool completely before laying them out on a baking sheet in a single layer in the freezer until solid. Once frozen, transfer them to airtight containers or bags for long-term storage.
What Sides Pair Well with Kielbasa?
Kielbasa pairs wonderfully with various sides that complement its savory flavors. Classic options include sauerkraut or braised cabbage for tanginess and roasted potatoes for heartiness. For something lighter, consider serving it alongside sautéed green beans or a fresh garden salad dressed with vinaigrette. These sides balance out kielbasa’s richness while providing nutritional variety on your plate.
Conclusion for Pierogies and Kielbasa
In summary, mastering the art of making pierogies and kielbasa requires attention to detail in several areas including ingredient selection, filling proportions, cooking methods, and seasoning practices. Avoid common pitfalls like overstuffing and neglecting resting times; these can detract from your dish’s quality significantly. comfort food classic By following these suggestions and understanding how to cook these delicious staples properly, you’ll create meals that are not only satisfying but also packed with flavor. Embrace creativity through different fillings and side dishes for an exciting culinary experience that celebrates this beloved comfort food duo!
Did You Enjoy Making This Recipe? Please rate this recipe with ⭐⭐⭐⭐⭐ or leave a comment.
📖 Recipe Card
Print
Delicious Pierogies and Kielbasa
- Total Time: 50 minutes
- Yield: Serves approximately 4 people 1x
Description
Indulge in the comforting flavors of Polish cuisine with this delightful Pierogies and Kielbasa recipe. Tender dumplings filled with creamy potatoes and cheese meet savory kielbasa sausage for a meal that’s both hearty and satisfying. Perfect for family dinners or gatherings, this easy-to-follow dish will leave everyone craving more. Gather your ingredients, and get ready to create a delicious culinary experience that’s ideal for sharing and celebrating.
Ingredients
- 2 cups all-purpose flour
- 1 large egg
- 1/2 cup water (adjust as needed)
- 2 cups starchy potatoes (e.g., Russets), peeled and cubed
- 1 cup small-curd cottage cheese
- 1 tsp salt
- 1/2 tsp black pepper
- 1 lb kielbasa sausage, sliced
- 1 medium onion, chopped
Instructions
- Boil potatoes until tender, then mash them in a bowl. Mix in cottage cheese, salt, and pepper.
- In a separate bowl, combine flour, egg, and salt; gradually add water to form a soft dough. Knead until smooth.
- Roll out the dough, cut into circles, and place a tablespoon of filling on each circle. Fold and seal tightly.
- Boil pierogies in salted water until they float (about 3-5 minutes), then remove with a slotted spoon.
- In a skillet over medium heat, sauté kielbasa and onions until browned. Add cooked pierogies to the skillet briefly to combine flavors before serving.
- Prep Time: 30 minutes
- Cook Time: 20 minutes
- Category: Main
- Method: Boiling/Sautéing
- Cuisine: Polish
Nutrition
- Serving Size: About 2 pierogies and kielbasa
- Calories: 450
- Sugar: 2g
- Sodium: 880mg
- Fat: 22g
- Saturated Fat: 8g
- Unsaturated Fat: 12g
- Trans Fat: 0g
- Carbohydrates: 50g
- Fiber: 4g
- Protein: 18g
- Cholesterol: 70mg