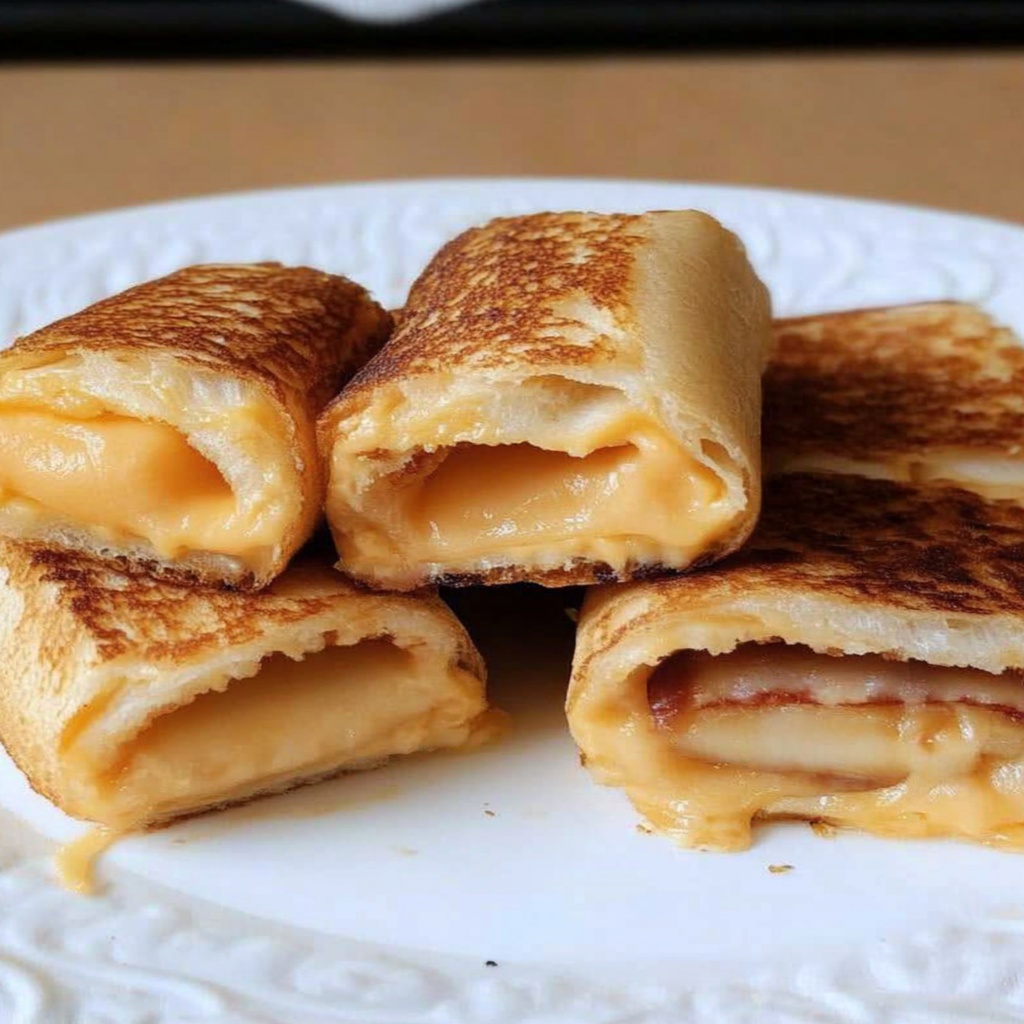
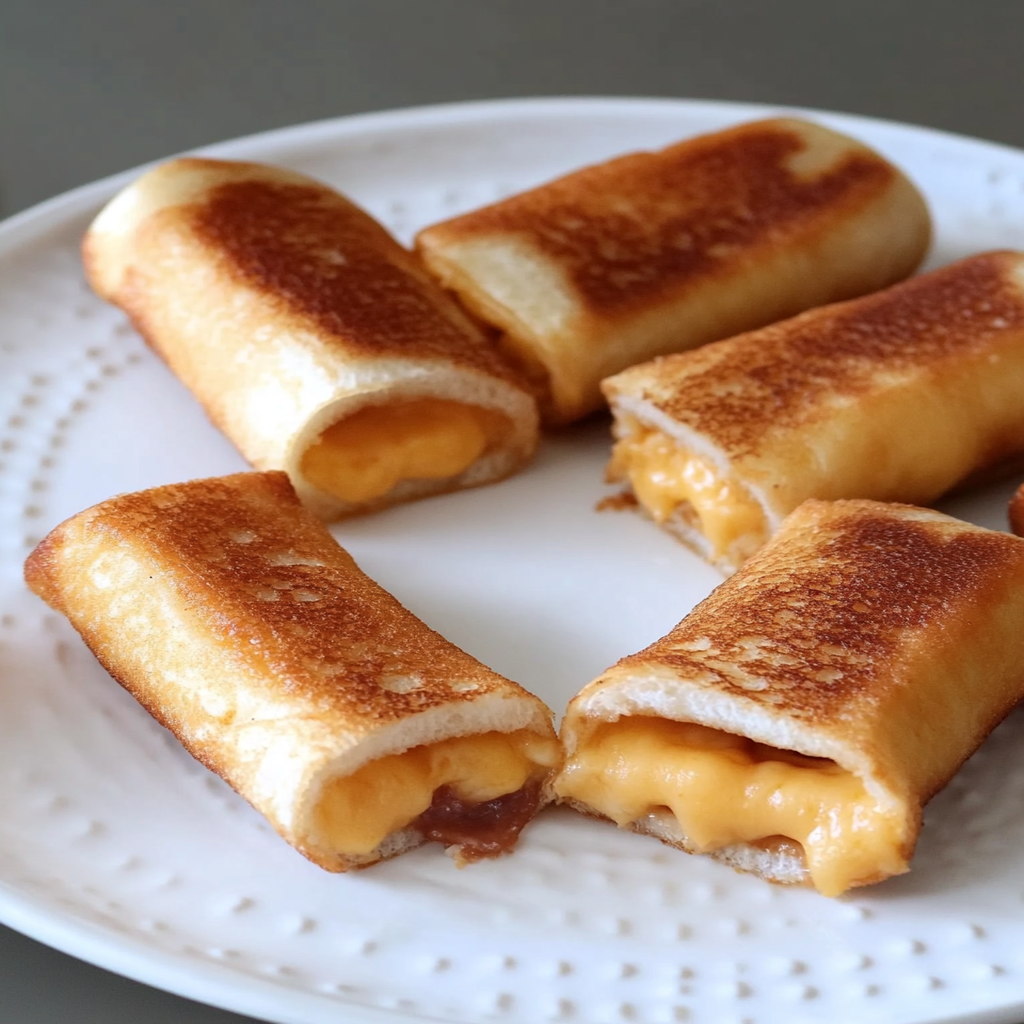
talgia with modern convenience. These delightful treats offer a crispy exterior that gives way to melted cheesy goodness inside. Perfect for kids and adults alike, they make an excellent snack or a fun meal option any time of day. The best part? You can prepare them quickly using just a few simple ingredients. Whether you’re looking for a creative lunch idea or an appetizer for your next gathering, these roll ups will surely impress everyone at the table. In this article, we will guide you through the entire process of making Grilled Cheese Roll Ups from scratch. You’ll learn about the ingredients needed, step-by-step instructions on how to make them, tips for achieving the best results, and much more. Let’s dive into this cheesy adventure!
Jump to:
- Why You’ll Love This Grilled Cheese Roll Ups
- Ingredients for Grilled Cheese Roll Ups
- How to Make Grilled Cheese Roll Ups
- Tips and Tricks
- How to Serve Grilled Cheese Roll Ups
- Make Ahead and Storage
- Suggestions for Grilled Cheese Roll Ups
- Use the Right Bread
- Don’t Skimp on Cheese
- Master Your Cooking Temperature
- Experiment with Fillings
- FAQs
- What cheeses work best for Cheese Roll Ups?
- Can I make Cheese Ups ahead of time?
- What dipping sauces pair well with Cheese Roll Ups?
- Are Grilled Cheese Roll Ups suitable for kids?
- Conclusion for Grilled Cheese Roll Ups
- 📖 Recipe Card
Why You’ll Love This Grilled Cheese Roll Ups
- Quick and Easy: Minimal prep time and straightforward steps make this recipe stress-free, even for novice cooks
- Flavorful and Versatile: Enjoy outstanding flavor with ingredients you can easily customize by adding your favorites or adjusting spices
- Perfect for Any Occasion: Ideal for casual gatherings, holiday celebrations, or weeknight dinners

Ingredients for Grilled Cheese Roll Ups
Here’s what you’ll need to make this delicious dish:
- Bread Slices: Use white or whole wheat bread; both work well. Choose fresh slices for the best texture.
- Cheese: Cheddar is a classic choice due to its meltability; however, feel free to mix in mozzarella or pepper jack for added flavor.
- Butter: Use unsalted butter to control the saltiness; it helps achieve that golden-brown crust when grilling.
The full ingredients list, including measurements, is provided in the recipe card directly below.
How to Make Grilled Cheese Roll Ups
Follow these simple steps to prepare this delicious dish:
Step 1: Prepare the Bread
Take your slices of bread and flatten them gently using a rolling pin. This helps create a better shape for rolling.
Step 2: Add the Cheese
Place your chosen cheese on one end of each flattened slice of bread. Leave some space at the edges to prevent spillage during cooking.
Step 3: Roll It Up
Carefully roll up each slice of bread starting from the end with cheese. Make sure it’s tightly rolled so that it holds its shape while cooking.
Step 4: Butter the Outside
Spread softened butter on the outside of each rolled-up piece generously. This will help create a crispy texture once grilled.
Step 5: Grill Them Up
Heat a skillet over medium heat. Place each roll in the pan seam-side down and cook until golden brown on all sides.
Step 6: Serve Warm
Transfer your grilled cheese roll ups to plates and enjoy them warm with your favorite dipping sauce!
Tips and Tricks
Here are some helpful tips to ensure the best results for your dish:
- Use Fresh Ingredients: Fresh bread and quality cheese lead to better flavor and texture in your roll ups.
- Keep It Tight: Ensure that you roll up tightly so that none of the filling oozes out during cooking.
- Experiment with Fillings: Feel free to add extras like ham or spinach inside your roll ups for added nutrition.
How to Serve Grilled Cheese Roll Ups
This Grilled Cheese Roll Ups is versatile and pairs wonderfully with:
- Tomato Soup: The classic combination enhances the flavors, offering a creamy dip for your roll ups.
- Fresh Veggies: Crisp vegetables provide a refreshing crunch that balances the melted cheese.
- Pesto Sauce: A fragrant sauce that complements the richness of the cheese, adding a burst of flavor.
Feel free to pair it with your favorite sides for a personalized meal!
Make Ahead and Storage
- Make Ahead: You can prepare the grilled cheese roll ups ahead of time. Assemble them up to 24 hours in advance and store in an airtight container in the refrigerator. This allows flavors to meld before cooking.
- Storing: Store any leftovers in an airtight container in the fridge for up to three days. If you want to keep them longer, consider freezing for up to two months, wrapping each roll individually in plastic wrap.
- Reheating: To reheat, place roll ups in a preheated oven at 350°F (175°C) for about 10-15 minutes until heated through. For crispy edges, consider using a skillet over medium heat for about five minutes on each side.
Suggestions for Grilled Cheese Roll Ups
Use the Right Bread
Choosing the right bread is crucial for making perfect Grilled Cheese Roll Ups. Opt for a soft, pliable bread that can easily be rolled without tearing. White sandwich bread or even tortillas work well. Avoid crusty breads, as they can break or crack when you try to roll them up. Additionally, ensure the bread is fresh. Stale bread will not only affect the taste but also make it challenging to achieve that ideal roll. Properly selecting the right type of bread sets the foundation for delicious and visually appealing roll-ups.
Don’t Skimp on Cheese
When making Grilled Cheese Roll Ups, cheese choice and quantity matter greatly. Use a blend of cheeses for depth of flavor; cheddar, mozzarella, and American cheese melt beautifully together. Ensure you add enough cheese to fill your rolls adequately—too little will result in dry roll-ups. However, avoid overfilling, as this can lead to oozing cheese during cooking. Remember, balance is key to achieving that gooey texture that makes these roll-ups irresistible.
Master Your Cooking Temperature
Cooking temperature plays an essential role in the success of your Grilled Cheese Roll Ups. Preheat your skillet on medium heat; too high can burn the bread while leaving the cheese unmelted inside. A lower temperature allows for even cooking and ensures that your cheese melts perfectly without the outside becoming overly crispy or burnt. Keep an eye on your roll-ups as they cook; flipping them too early can cause filling spillage and ruin their shape.
Experiment with Fillings
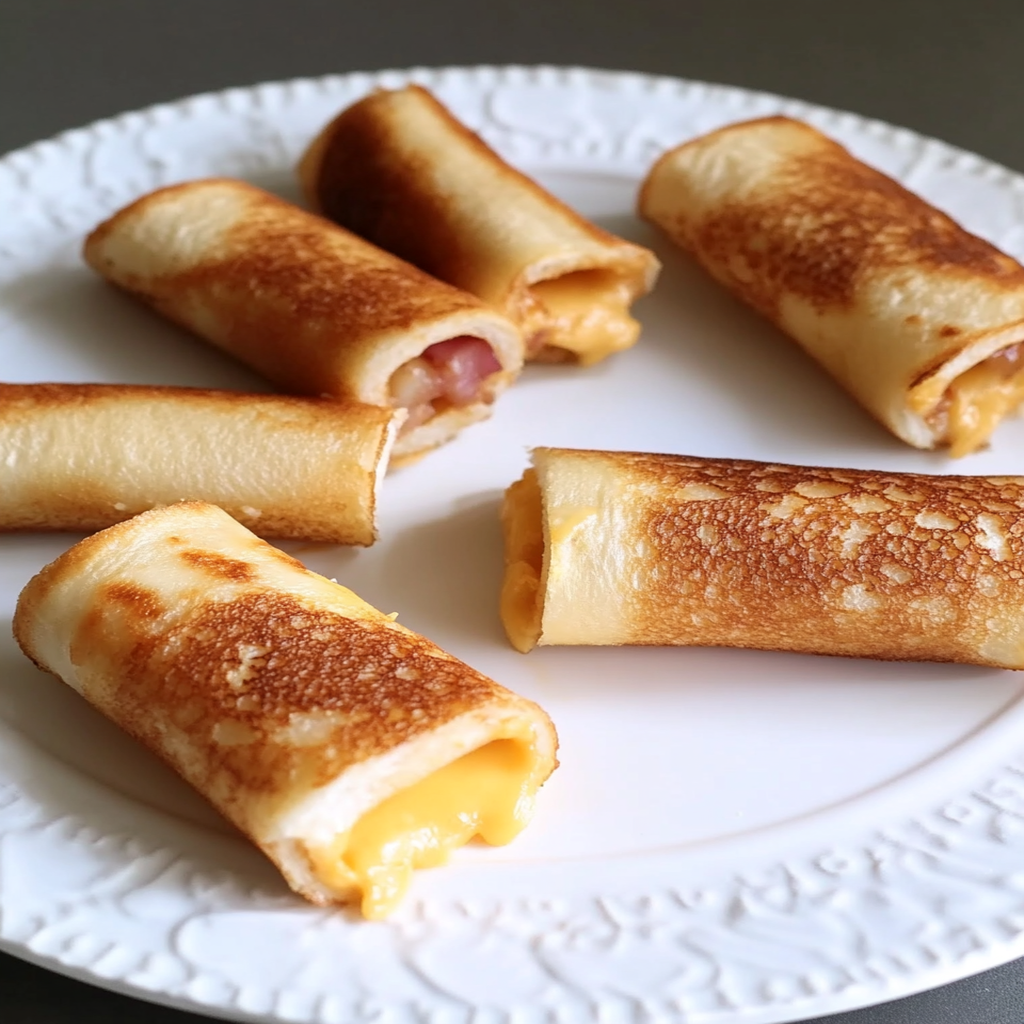
While cheese is king in Grilled Cheese Roll Ups, feel free to experiment with additional fillings! Adding ingredients like ham, spinach, or roasted peppers can elevate your dish and add unique flavors and textures. However, remember that too many ingredients can complicate rolling and cooking. Stick with a few complementary fillings that enhance rather than overwhelm the cheesy goodness inside. This way, each bite remains flavorful while staying true to the essence of Grilled Cheese Roll Ups.
FAQs
What cheeses work best for Cheese Roll Ups?
The best cheeses for Grilled Cheese Ups include mozzarella, cheddar, and American cheese due to their excellent melting properties. Mozzarella provides a stretchy texture while cheddar adds sharpness and depth of flavor. American cheese melts smoothly, ensuring a creamy consistency throughout the roll-up. You can also mix different cheeses together for added complexity in taste and texture.
Can I make Cheese Ups ahead of time?
Yes, you can prepare Cheese Roll Ups ahead of time! To do this efficiently, assemble your roll-ups but avoid cooking them until you’re ready to serve. Store them in an airtight container in the refrigerator for up to 24 hours. When you’re ready to enjoy them, simply heat a skillet over medium heat and cook until golden brown and heated through.
What dipping sauces pair well with Cheese Roll Ups?
Grilled Cheese Roll Ups are delightful on their own but become even more enjoyable with dipping sauces! Classic choices like marinara sauce or tomato soup create a comforting combination reminiscent of childhood favorites. For something different, consider serving them with ranch dressing or spicy sriracha mayonnaise for a kick of flavor that complements the cheesy goodness perfectly.
Are Grilled Cheese Roll Ups suitable for kids?
Absolutely! Grilled Cheese Roll Ups are incredibly kid-friendly due to their fun shape and cheesy flavor profile that appeals to young taste buds. They are easy to hold and eat—perfect for lunchboxes or snacks after school. Additionally, involving children in making these roll-ups can be a fun family activity that encourages creativity with fillings!
Conclusion for Grilled Cheese Roll Ups
In conclusion, mastering Grilled Cheese Roll Ups requires attention to detail—from selecting the right type of bread to balancing fillings effectively while ensuring proper cooking temperature. These tips will help you create deliciously gooey treats perfect for any occasion or snack time at home. The versatility of this dish allows endless variations, inviting everyone from kids to adults to enjoy its cheesy goodness tailored to personal preferences. With just a little practice and creativity in your kitchen, your Grilled Cheese Roll Ups will surely impress family and friends alike!
Did You Enjoy Making This Recipe? Please rate this recipe with ⭐⭐⭐⭐⭐ or leave a comment.
📖 Recipe Card
Print
Grilled Cheese Roll Ups
- Total Time: 15 minutes
- Yield: 4 servings (approximately 4 roll ups) 1x
Description
Grilled Cheese Roll Ups are a delightful twist on a classic favorite, combining the nostalgia of traditional grilled cheese with a fun and portable form. These crispy, cheesy rolls are perfect for any occasion—be it a quick snack, a playful lunch, or an appetizer that will wow your guests. With just a few simple ingredients, you can whip up these tasty treats in no time. The golden-brown exterior gives way to gooey melted cheese that oozes with every bite. Customize your roll ups by adding your favorite fillings or spices for an extra burst of flavor. Get ready to enjoy these cheesy delights that are sure to become a family favorite!
Ingredients
- 4 slices of bread (white or whole wheat)
- ½ cup cheddar cheese (or mix with mozzarella/pepper jack)
- 2 tablespoons unsalted butter
Instructions
- Flatten each slice of bread using a rolling pin.
- Place cheese at one end of the flattened bread slice, leaving edges clear.
- Tightly roll the bread around the cheese.
- Spread softened butter generously on the outside of each roll.
- Heat a skillet over medium heat and place rolls seam-side down; cook until golden brown on all sides.
- Serve warm with your favorite dipping sauce.
- Prep Time: 10 minutes
- Cook Time: 5 minutes
- Category: Snack
- Method: Grilling
- Cuisine: American
Nutrition
- Serving Size: 1 serving
- Calories: 130
- Sugar: 1g
- Sodium: 220mg
- Fat: 8g
- Saturated Fat: 4g
- Unsaturated Fat: 3g
- Trans Fat: 0g
- Carbohydrates: 11g
- Fiber: 1g
- Protein: 5g
- Cholesterol: 20mg