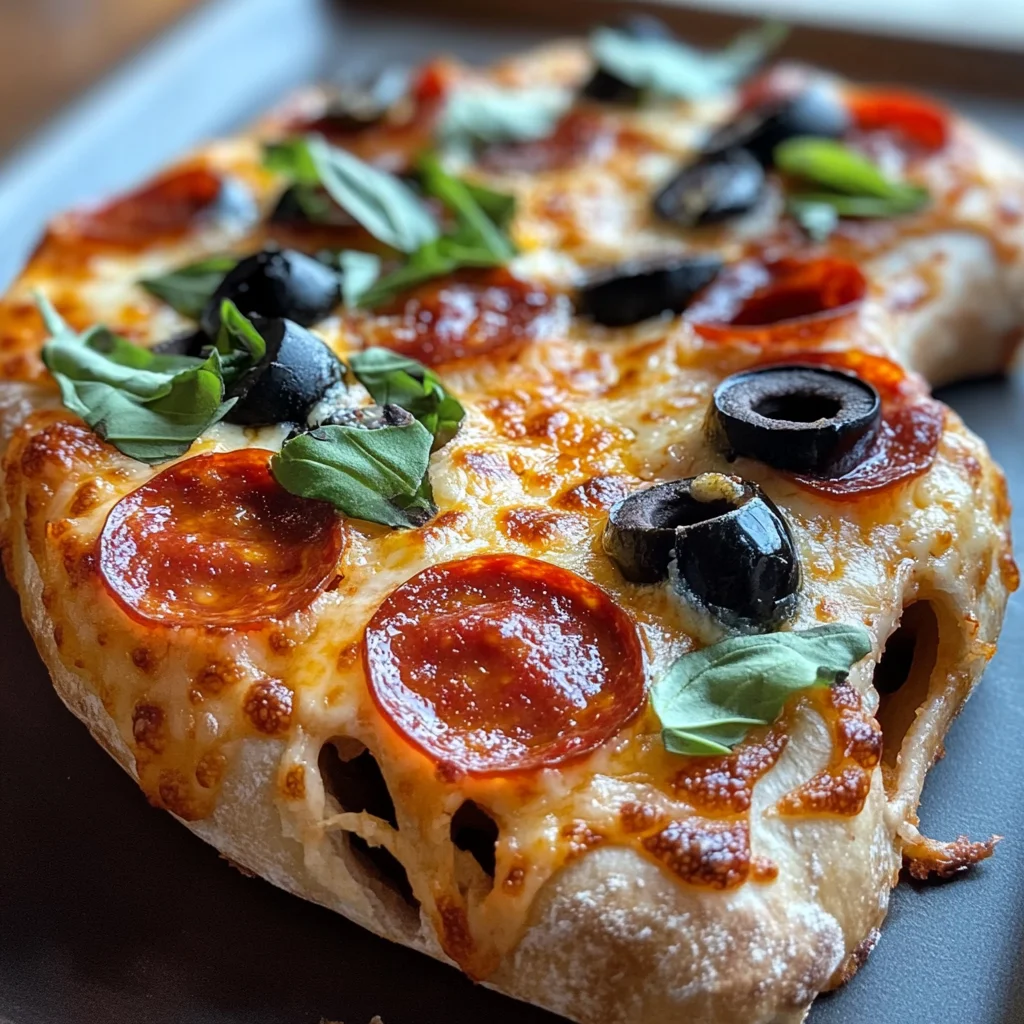
These Cheesy Halloween Pizza Skulls are a delightful and spooky way to enjoy a savory treat during the Halloween season. Perfect for parties, family gatherings, or just a fun dinner with the kids, these pizza skulls are not only easy to make but also fully customizable to suit everyone’s tastes. The unique skull shape adds an extra layer of excitement, making them a standout dish that will impress your guests.
Jump to:
- Why You’ll Love This Recipe
- Tools and Preparation
- Essential Tools and Equipment
- Importance of Each Tool
- Ingredients
- For the Dough and Sauce
- For the Cheese and Meats
- For the Toppings
- For Serving
- How to Make Cheesy Halloween Pizza Skulls
- Step 1: Prepare the Baking Tin
- Step 2: Roll Out the Dough
- Step 3: Fill the Skull Cavities
- Step 4: Seal Your Pizza Skulls
- Step 5: Chill Before Baking
- Step 6: Preheat Your Oven
- Step 7: Bake the Pizza Skulls
- Step 8: Cool and Serve
- How to Serve Cheesy Halloween Pizza Skulls
- With Dipping Sauces
- As Part of a Themed Platter
- For Kids’ Parties
- Paired with Drinks
- How to Perfect Cheesy Halloween Pizza Skulls
- Best Side Dishes for Cheesy Halloween Pizza Skulls
- Common Mistakes to Avoid
- Refrigerator Storage
- Freezing Cheesy Halloween Pizza Skulls
- Reheating Cheesy Halloween Pizza Skulls
- Frequently Asked Questions
- What are Cheesy Halloween Pizza Skulls?
- Can I customize my Cheesy Halloween Pizza Skulls?
- How do I prevent my Cheesy Halloween Pizza Skulls from sticking?
- How long do Cheesy Halloween Pizza Skulls last?
- Final Thoughts
- 📖 Recipe Card
Why You’ll Love This Recipe
- Easy to Make: These pizza skulls require minimal prep and cooking time, making them perfect for a busy Halloween night.
- Customizable Fillings: You can use any toppings you like. From meats to veggies, everyone can create their own favorite filling.
- Fun Presentation: The skull shape adds a festive touch that will delight kids and adults alike at your Halloween gatherings.
- Great for Sharing: With six individual servings, they are perfect for sharing or serving at parties.
- Delicious Flavor: The combination of gooey cheese, savory meats, and rich sauce creates a mouthwatering experience.
Tools and Preparation
Before you dive into making these fun pizza treats, gather the necessary tools to ensure everything goes smoothly.
Essential Tools and Equipment
- Mini skull baking tin
- Rolling pin
- Cooking spray
- Mixing bowl
Importance of Each Tool
- Mini skull baking tin: This creates the perfect shape for your cheesy Halloween pizza skulls, adding a fun twist to your dish.
- Rolling pin: Helps achieve an even thickness when rolling out your dough, ensuring uniform cooking.
- Cooking spray: Prevents sticking and makes cleanup easier after baking.
Ingredients
For the Dough and Sauce
- 13 to 16 ounces of pre-made pizza dough
- 3/4 to 1 cup pizza sauce
For the Cheese and Meats
- 2 cups shredded mozzarella
- Parmesan cheese (about 1/4 cup)
- Cooked sausage (about 8 ounces for 6 pizza skulls)
- Mini pepperoni (about 6 ounces for 6 pizza skulls)
For the Toppings
- Black olives (sliced)
- Sliced ham (chopped)
- Crumble crispy bacon
- Mini Italian meatballs
- Cooked corn kernels
- Baby spinach
- Fresh basil
For Serving
- Marinara sauce for dipping
- Chopped parsley or basil
How to Make Cheesy Halloween Pizza Skulls
Step 1: Prepare the Baking Tin
Spray the mini skull baking tin with cooking spray. This will help ensure that your pizza skulls pop out easily once they are baked.
Step 2: Roll Out the Dough
Dust the counter lightly with flour to prevent sticking. Roll, pat, or stretch the dough out until it is roughly 1/4 thick. Cut the dough into 6 rectangles. Don’t worry if they aren’t perfectly shaped or exactly equal in size; this adds character!
Step 3: Fill the Skull Cavities
Working with one piece of dough at a time, lay each dough piece into the skull cavity. Start filling it with sauce, mozzarella, a sprinkle of Parmesan cheese, and your desired toppings. After adding toppings, drizzle a little bit of pizza sauce on top before sealing the dough (no more than a tablespoon).
Step 4: Seal Your Pizza Skulls
Fold the dough over the fillings, pinching it together to seal them like small pizza pockets. Continue until all six pieces have been filled and sealed.
Step 5: Chill Before Baking
Refrigerate the filled skull tray while you preheat your oven.
Step 6: Preheat Your Oven
Preheat your oven to 400 degrees Fahrenheit.
Step 7: Bake the Pizza Skulls
Remove the tray from refrigeration and bake for about 16 to 20 minutes or until lightly golden brown. Keep an eye on them as some pre-made doughs may require more or less time.
Step 8: Cool and Serve
Once baked, remove from the oven and allow cooling for about five minutes. Unmold carefully and serve with marinara sauce alongside chopped parsley or basil if desired.
Enjoy these delicious Cheesy Halloween Pizza Skulls as part of your spooky festivities!
How to Serve Cheesy Halloween Pizza Skulls
Serving Cheesy Halloween Pizza Skulls can be a delightful experience that adds a fun twist to your Halloween festivities. Here are some creative ways to present and enjoy this spooky dish.
With Dipping Sauces
- Marinara Sauce: A classic Italian sauce that pairs perfectly with cheesy pizza flavors.
- Ranch Dressing: Creamy and tangy, this dressing is a favorite among kids and adults alike.
- Spicy Ketchup: Add a kick to your Halloween meal with some spicy ketchup for dipping.
As Part of a Themed Platter
- Vegetable Tray: Include colorful veggies like carrots, cucumbers, and bell peppers for a refreshing contrast.
- Fruit Skewers: Use seasonal fruits like oranges and grapes to add sweetness to the savory pizzas.
- Cheese Board: Offer an assortment of cheeses for a sophisticated touch that complements the pizza skulls.
For Kids’ Parties
- Halloween Plates: Use themed plates featuring ghosts or pumpkins to make serving more festive.
- Fun Toothpicks: Decorate with spooky toothpicks featuring bats or witches for easy eating.
Paired with Drinks
- Apple Cider: Serve warm or cold apple cider as a seasonal beverage that complements the flavors.
- Pumpkin Spice Latte: For an autumnal touch, offer pumpkin spice lattes alongside the pizza skulls.
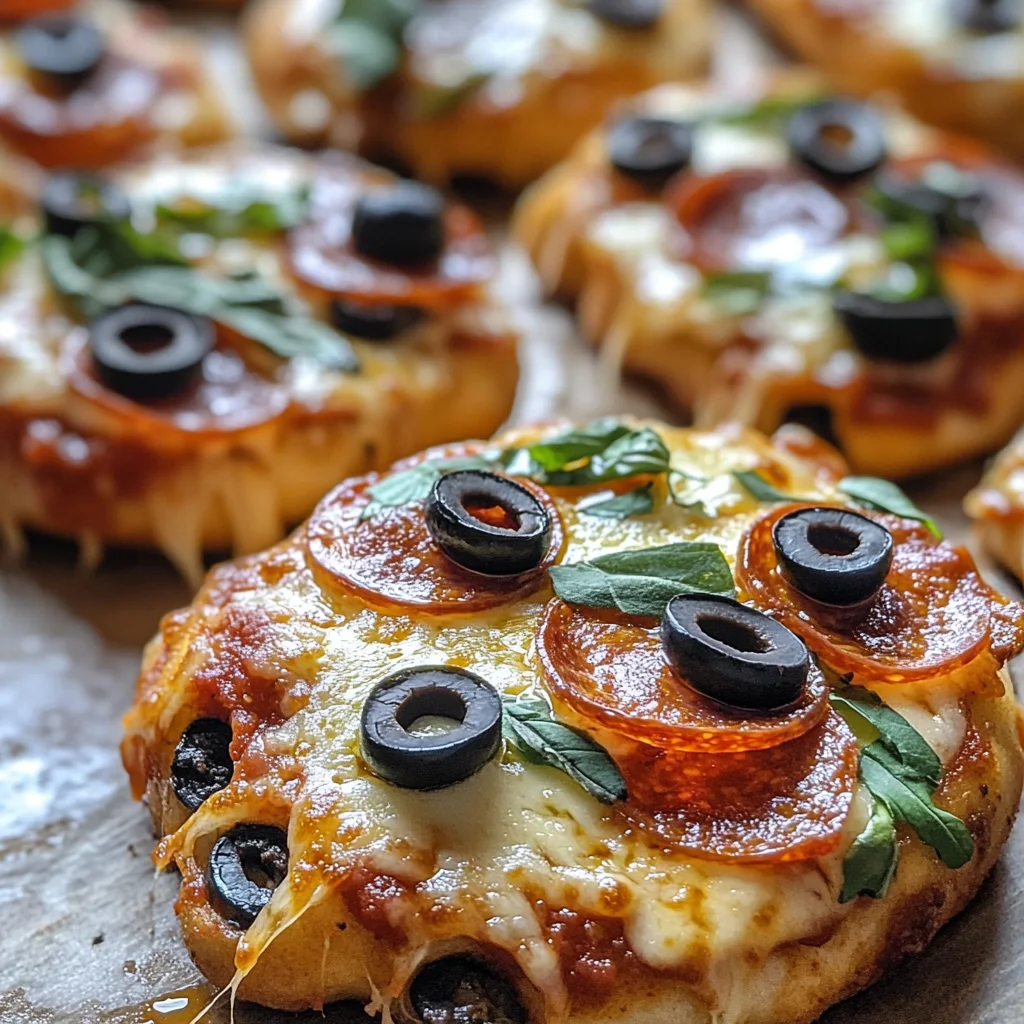
How to Perfect Cheesy Halloween Pizza Skulls
Creating the perfect Cheesy Halloween Pizza Skulls requires attention to detail. Here are some tips to ensure they turn out delicious every time.
- Use Fresh Ingredients: Fresh vegetables and meats enhance flavor and texture in your pizza skulls.
- Don’t Overfill: Keep toppings within limits to avoid spills when sealing the dough; too much filling can lead to messy results.
- Preheat Your Oven: Ensure your oven is fully preheated for even baking, which helps achieve that golden crust.
- Experiment with Toppings: Feel free to get creative with various toppings like different cheeses or meats for unique flavors each time.
- Adjust Baking Time: Since ovens vary, keep an eye on your pizza skulls as they bake; remove them when they’re golden brown.
- Let Cool Before Serving: Allow them to cool briefly after baking; this makes handling easier and enhances flavor.
Best Side Dishes for Cheesy Halloween Pizza Skulls
To elevate your meal, consider pairing Cheesy Halloween Pizza Skulls with these tasty side dishes. They complement the main event while adding variety to your spread.
- Garlic Breadsticks: Soft and buttery sticks seasoned with garlic make a great addition alongside pizza.
- Caesar Salad: Crisp romaine lettuce tossed in Caesar dressing offers freshness that balances the richness of pizza skulls.
- Pumpkin Soup: A warm soup made from pureed pumpkin can be a cozy side option during fall gatherings.
- Stuffed Mushrooms: These bite-sized treats filled with cheese and herbs add an elegant touch to your table.
- Coleslaw: A tangy coleslaw provides crunch and acidity, cutting through the cheesy goodness of the pizza skulls.
- Roasted Vegetables: Seasonal roasted veggies bring color, nutrition, and warmth to your Halloween feast.
- Sweet Potato Fries: Crispy sweet potato fries offer a sweet contrast that’s both satisfying and healthy.
Common Mistakes to Avoid
When making Cheesy Halloween Pizza Skulls, it’s easy to make a few common errors. Here are some tips to help you avoid them.
- Using cold dough: Make sure your pizza dough is at room temperature before you start. Cold dough can be hard to stretch and shape properly.
- Overfilling the skulls: It’s tempting to add lots of toppings, but overfilling can lead to messy spills. Stick to a tablespoon of sauce and a handful of toppings for each skull.
- Not sealing properly: Ensure the dough is well sealed after filling. Unsealed edges can cause the fillings to leak during baking, ruining the shape.
- Ignoring oven temperature: Preheat your oven adequately. Baking at a lower temperature may result in undercooked dough while higher temperatures can burn the outside.
- Skipping cooling time: Letting the Pizza Skulls cool for a few minutes after baking helps them firm up, making them easier to remove from the tin.
Refrigerator Storage
- Store Cheesy Halloween Pizza Skulls in an airtight container for up to 3 days.
- Place parchment paper between layers if stacking, to prevent sticking.
Freezing Cheesy Halloween Pizza Skulls
- Freeze unbaked Pizza Skulls on a baking sheet until firm, then transfer to a freezer-safe container for up to 2 months.
- For baked ones, wrap tightly in plastic wrap and then foil before freezing.
Reheating Cheesy Halloween Pizza Skulls
- Oven: Preheat the oven to 350°F (175°C) and bake for about 10-15 minutes until heated through.
- Microwave: Heat on medium power for about 1-2 minutes until warm. Check often to avoid overheating.
- Stovetop: Place in a skillet over low heat with a lid; heat for about 5-7 minutes until warmed.
Frequently Asked Questions
What are Cheesy Halloween Pizza Skulls?
Cheesy Halloween Pizza Skulls are savory stuffed pizza treats shaped like skulls. They are filled with cheese, sauce, and various toppings, making them perfect for Halloween parties.
Can I customize my Cheesy Halloween Pizza Skulls?
Absolutely! You can customize with different cheeses, meats, or vegetables based on your taste preferences.
How do I prevent my Cheesy Halloween Pizza Skulls from sticking?
Using cooking spray on your baking tin helps prevent sticking. Additionally, make sure your dough is floured lightly when rolling it out.
How long do Cheesy Halloween Pizza Skulls last?
When stored properly in an airtight container, they can last up to 3 days in the refrigerator or two months in the freezer.
Final Thoughts
Cheesy Halloween Pizza Skulls are not only fun but also versatile! They allow for endless customization options that can cater to any palate. Whether you’re hosting a party or just want a festive meal for your family, these pizza skulls will surely delight everyone. Give them a try this Halloween season!
Did You Enjoy Making This Recipe? Please rate this recipe with ⭐⭐⭐⭐⭐ or leave a comment.
📖 Recipe Card
Print
Cheesy Halloween Pizza Skulls
- Total Time: 40 minutes
- Yield: Serves 6
Description
Indulge in the festive spirit with Cheesy Halloween Pizza Skulls, a fun and delicious savory treat perfect for your spooky celebrations. These delightful pizza pockets are shaped like skulls, making them an exciting addition to any Halloween gathering. With minimal prep time and endless customization options, from gooey cheese to savory meats and colorful veggies, everyone can create their own unique flavor. Whether it’s a family dinner or a Halloween party, these cheesy delights are sure to impress both kids and adults alike!
Ingredients
- 13 to 16 ounces pre-made pizza dough
- 3/4 to 1 cup pizza sauce
- 2 cups shredded mozzarella cheese
- 1/4 cup Parmesan cheese
- Cooked sausage (8 ounces)
- Mini pepperoni (6 ounces)
- Black olives (sliced)
- Sliced ham (chopped)
- Crumble crispy bacon
- Mini Italian meatballs
- Cooked corn kernels
- Baby spinach
- Fresh basil
- Marinara sauce for dipping
- Chopped parsley or basil
Instructions
- Preheat your oven to 400°F (200°C) and prepare a mini skull baking tin with cooking spray.
- Roll out the pizza dough to about 1/4 inch thick and cut into rectangles for each skull cavity.
- Place dough into the tin, fill with sauce, cheeses, and desired toppings, then seal each skull by folding the dough over.
- Refrigerate for a few minutes before baking for 16-20 minutes until golden brown.
- Let cool briefly before serving with marinara sauce.
- Prep Time: 20 minutes
- Cook Time: 20 minutes
- Category: Appetizer
- Method: Baking
- Cuisine: American
Nutrition
- Serving Size: 1 serving
- Calories: 295
- Sugar: 2g
- Sodium: 630mg
- Fat: 15g
- Saturated Fat: 7g
- Unsaturated Fat: 7g
- Trans Fat: 0g
- Carbohydrates: 28g
- Fiber: 2g
- Protein: 14g
- Cholesterol: 30mg