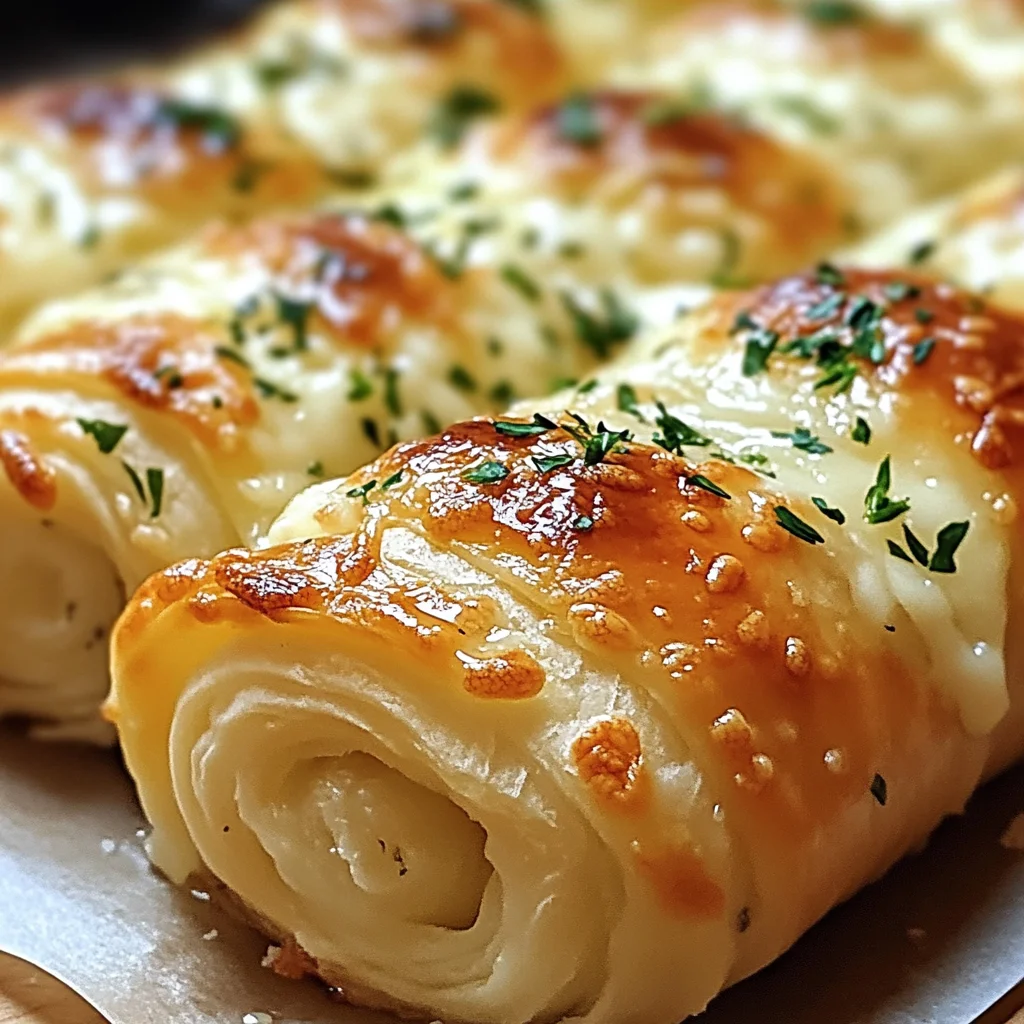
These Cheesy Garlic Butter Rollups are the perfect blend of soft, buttery dough and melty cheese, making them a fantastic choice for any occasion. Whether you’re hosting a party, looking for a quick snack, or need a side dish, these rollups will impress everyone. Easy to prepare and bursting with flavor, they are sure to become a favorite at your gatherings!
Jump to:
- Why You’ll Love This Recipe
- Tools and Preparation
- Essential Tools and Equipment
- Importance of Each Tool
- Ingredients
- For the Rollups:
- For the Garlic Butter:
- For Garnish (Optional):
- How to Make Cheesy Garlic Butter Rollups
- Step 1: Preheat the Oven
- Step 2: Prepare the Dough
- Step 3: Assemble the Rollups
- Step 4: Roll Up the Dough
- Step 5: Make the Garlic Butter
- Step 6: Brush with Garlic Butter
- Step 7: Bake
- Step 8: Finish and Serve
- Step 9: Enjoy!
- How to Serve Cheesy Garlic Butter Rollups
- As Appetizers
- For Game Day
- As a Snack
- With Soup
- At Brunch
- How to Perfect Cheesy Garlic Butter Rollups
- Best Side Dishes for Cheesy Garlic Butter Rollups
- Common Mistakes to Avoid
- Storage & Reheating Instructions
- Refrigerator Storage
- Freezing Cheesy Garlic Butter Rollups
- Reheating Cheesy Garlic Butter Rollups
- Frequently Asked Questions
- What are Cheesy Garlic Butter Rollups?
- Can I customize the cheese in my rollups?
- How do I serve Cheesy Garlic Butter Rollups?
- Can I prepare these rollups ahead of time?
- Are there gluten-free options available?
- Final Thoughts
- 📖 Recipe Card
Why You’ll Love This Recipe
- Quick and Easy: With just a few simple steps and minimal prep time, you can have these delicious rollups ready in under 30 minutes.
- Flavor Packed: The combination of garlic butter and oozy cheese creates an irresistible taste that will keep everyone coming back for more.
- Versatile Snack: Perfect as an appetizer or side dish, these rollups fit seamlessly into any meal or occasion.
- Customizable Ingredients: Feel free to experiment with different cheeses or herbs to tailor the flavor to your liking.
- Kid-Friendly: These cheesy bites are great for kids and adults alike, making them a hit at family gatherings.
Tools and Preparation
Having the right tools makes preparing Cheesy Garlic Butter Rollups a breeze. Ensure you have everything ready before you start cooking.
Essential Tools and Equipment
- Baking sheet
- Parchment paper or silicone baking mat
- Mixing bowl
- Brush (for applying garlic butter)
Importance of Each Tool
- Baking sheet: Provides a sturdy surface for baking your rollups evenly.
- Parchment paper or silicone baking mat: Prevents sticking and ensures easy cleanup after baking.
- Mixing bowl: Essential for mixing ingredients like garlic butter without mess.
- Brush: Helps apply garlic butter evenly over each rollup for maximum flavor.
Ingredients
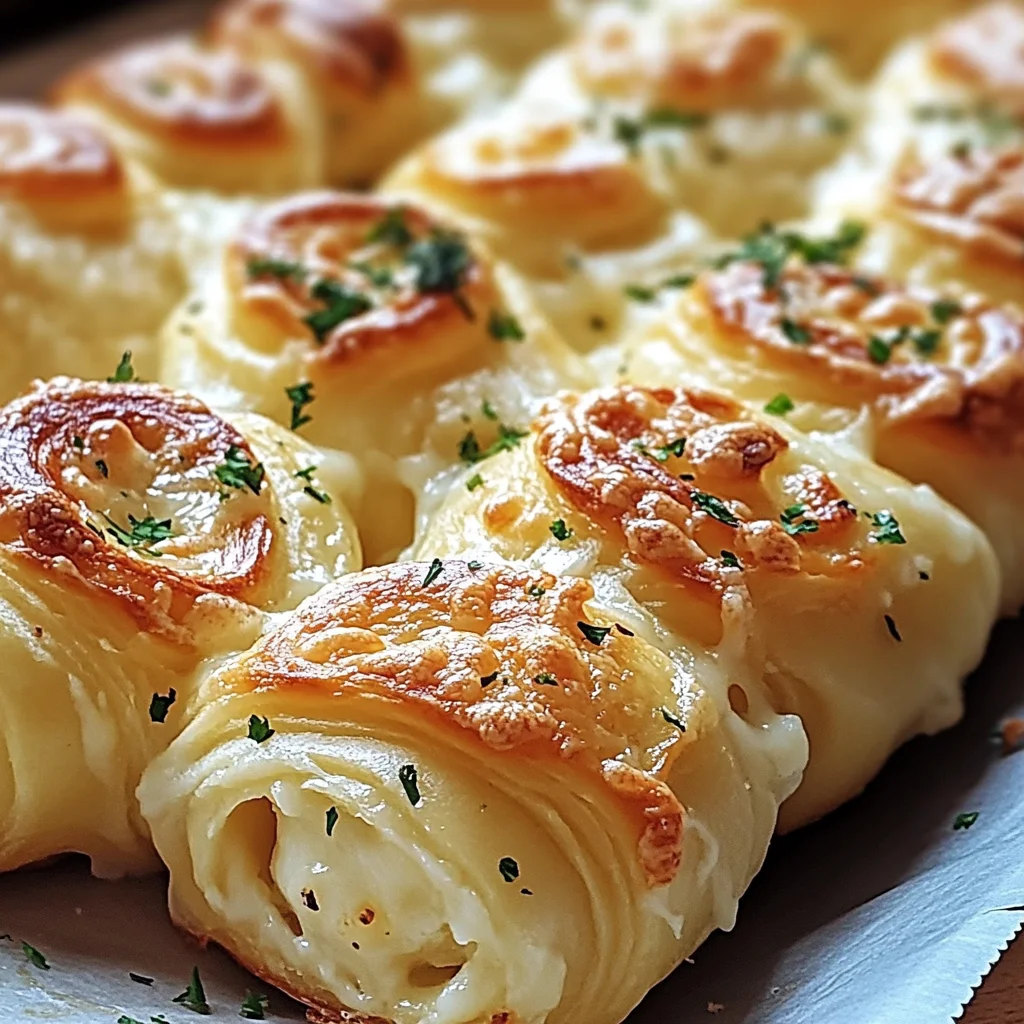
These Cheesy Garlic Butter Rollups are soft, buttery, and oozing with melty cheese. Perfect as an appetizer, snack, or side dish, they’re easy to make and sure to be a hit at any gathering!
For the Rollups:
- 1 can (8 oz) refrigerated crescent roll dough
- 1 cup shredded mozzarella cheese (or your favorite melty cheese)
- 1/2 cup grated Parmesan cheese
For the Garlic Butter:
- 1/4 cup unsalted butter, melted
- 2 cloves garlic, minced
- 1 teaspoon Italian seasoning
- 1/4 teaspoon salt
For Garnish (Optional):
- Chopped fresh parsley
- Extra Parmesan cheese
How to Make Cheesy Garlic Butter Rollups
Step 1: Preheat the Oven
Preheat your oven to 375°F (190°C). Line a baking sheet with parchment paper or a silicone baking mat.
Step 2: Prepare the Dough
Unroll the crescent roll dough and separate it into 8 triangles.
Step 3: Assemble the Rollups
Sprinkle 1-2 tablespoons of shredded mozzarella and a light sprinkle of Parmesan onto each triangle.
Step 4: Roll Up the Dough
Roll each triangle up from the wide end to the tip, enclosing the cheese. Place the rollups on the prepared baking sheet with the seam side down.
Step 5: Make the Garlic Butter
In a small bowl, mix together the melted butter, minced garlic, Italian seasoning, and salt until combined.
Step 6: Brush with Garlic Butter
Generously brush the garlic butter over each rollup. Reserve some of the butter for after baking if desired.
Step 7: Bake
Bake the rollups for 10-12 minutes or until they are golden brown and the cheese is melted.
Step 8: Finish and Serve
Brush any remaining garlic butter over the baked rollups. Garnish with chopped parsley and extra Parmesan cheese if desired.
Step 9: Enjoy!
Serve warm and enjoy these delightful Cheesy Garlic Butter Rollups!
How to Serve Cheesy Garlic Butter Rollups
These Cheesy Garlic Butter Rollups are versatile and can be enjoyed in various ways. Whether you’re hosting a party or looking for a tasty snack, these rollups will surely impress your guests.
As Appetizers
- Serve warm with marinara sauce for dipping.
- Pair with a fresh garden salad for a balanced meal.
For Game Day
- Set out alongside your favorite wings and nachos.
- Create a platter with assorted dips to enhance flavor options.
As a Snack
- Enjoy them on their own for a delightful treat.
- Pack them in lunch boxes for an afternoon pick-me-up.
With Soup
- Serve them alongside tomato soup for a comforting combo.
- Pair with creamy potato soup for extra heartiness.
At Brunch
- Include them in a brunch spread with eggs and fruit.
- Offer with coffee or tea as a delightful side.
How to Perfect Cheesy Garlic Butter Rollups
To achieve the best results, consider these tips for making your Cheesy Garlic Butter Rollups even more delicious.
- Use Fresh Ingredients: Fresh garlic and high-quality cheese enhance the flavor significantly.
- Don’t Overfill: Avoid overstuffing the rollups to prevent spillage while baking.
- Experiment with Cheese: Try different cheeses like cheddar or pepper jack for unique flavors.
- Keep an Eye on Baking Time: Adjust baking time based on your oven’s performance; golden brown is key.
- Add Herbs: Sprinkle additional herbs on top before serving for an extra flavor boost.
- Serve Immediately: These rollups are best enjoyed fresh out of the oven when they’re warm and gooey.
Best Side Dishes for Cheesy Garlic Butter Rollups
Pairing your Cheesy Garlic Butter Rollups with side dishes can elevate your meal. Here are some excellent choices to consider.
- Garden Salad: A light salad adds freshness and balances the richness of the rollups.
- Creamy Tomato Soup: This classic pairing offers warmth and comfort alongside the cheesy rolls.
- Garlic Mashed Potatoes: Rich, buttery potatoes complement the garlic flavors beautifully.
- Coleslaw: The crunchiness of coleslaw provides texture contrast to soft rollups.
- Roasted Vegetables: Seasonal vegetables add color and nutrients to your meal.
- French Fries: Crispy fries make for an indulgent side that everyone loves.
- Cheesy Pasta Bake: For cheese lovers, this dish pairs wonderfully with cheesy rollups!
- Stuffed Peppers: These can add more flavor variety while keeping things hearty.
Common Mistakes to Avoid
These mistakes can prevent your Cheesy Garlic Butter Rollups from turning out perfectly. Learn what to avoid for the best results.
- Skipping the Preheat: Not preheating the oven can lead to uneven baking. Always ensure your oven is at the right temperature before placing your rollups inside.
- Overstuffing the Rollups: Adding too much cheese may cause them to burst during baking. Stick to 1-2 tablespoons of cheese for the perfect melt without overflow.
- Ignoring Baking Time: Baking for too long can make your rollups dry. Keep an eye on them and remove them when they are golden brown and puffed up.
- Using Cold Ingredients: Starting with cold butter or cheese can affect melting and flavor. Let these ingredients come to room temperature for a better outcome.
- Not Brushing Enough Garlic Butter: Skimping on the garlic butter will result in bland rollups. Generously brush it on before and after baking for maximum flavor.
Storage & Reheating Instructions
Refrigerator Storage
- Duration: Store in the fridge for up to 3 days.
- Containers: Use an airtight container to keep them fresh.
Freezing Cheesy Garlic Butter Rollups
- Duration: Freeze for up to 2 months.
- Containers: Wrap tightly in plastic wrap, then place in a freezer bag.
Reheating Cheesy Garlic Butter Rollups
- Oven: Preheat to 350°F (175°C) and bake for about 10 minutes until warmed through.
- Microwave: Heat on medium power for 30 seconds, checking frequently to avoid sogginess.
- Stovetop: Place in a skillet over low heat, cover, and warm gently until heated through.
Frequently Asked Questions
What are Cheesy Garlic Butter Rollups?
Cheesy Garlic Butter Rollups are soft, buttery bites made from crescent roll dough filled with melty cheese and brushed with delicious garlic butter.
Can I customize the cheese in my rollups?
Yes! Feel free to experiment with different types of cheese like cheddar, gouda, or pepper jack for varied flavors.
How do I serve Cheesy Garlic Butter Rollups?
These rollups make great appetizers or snacks. Serve them warm with marinara sauce or ranch dressing for dipping!
Can I prepare these rollups ahead of time?
Absolutely! You can assemble the rollups, refrigerate them, and bake them just before serving for fresh enjoyment.
Are there gluten-free options available?
Yes! Look for gluten-free crescent roll dough as a substitute to make this recipe gluten-free while still enjoying its cheesy goodness.
Final Thoughts
Cheesy Garlic Butter Rollups are a delightful addition to any gathering, offering a blend of soft texture and rich flavor. You can easily customize these rollups by trying different cheeses or adding herbs. Give this recipe a try; it’s bound to please everyone at your table!
Did You Enjoy Making This Recipe? Please rate this recipe with ⭐⭐⭐⭐⭐ or leave a comment.
📖 Recipe Card
Print
Cheesy Garlic Butter Rollups
- Total Time: 22 minutes
- Yield: Makes 8 servings 1x
Description
Cheesy Garlic Butter Rollups are a delightful treat that combines the soft, flaky texture of crescent roll dough with the irresistible flavors of garlic butter and melty cheese. Perfect for any occasion, these rollups make a fantastic appetizer, snack, or side dish that will enchant your guests and family alike. With minimal prep time and simple ingredients, you can whip up a batch of these cheesy bites in under 30 minutes. Whether served warm with marinara sauce or as part of a hearty meal, they are sure to become a household favorite!
Ingredients
- 1 can (8 oz) refrigerated crescent roll dough
- 1 cup shredded mozzarella cheese
- 1/2 cup grated Parmesan cheese
- 1/4 cup unsalted butter, melted
- 2 cloves garlic, minced
- 1 teaspoon Italian seasoning
Instructions
- Preheat your oven to 375°F (190°C) and line a baking sheet with parchment paper.
- Unroll the crescent roll dough and separate it into 8 triangles.
- Place 1-2 tablespoons of shredded mozzarella and a sprinkle of Parmesan on each triangle.
- Roll each triangle from the wide end to the tip, enclosing the cheese. Place seam-side down on the baking sheet.
- In a small bowl, mix melted butter, minced garlic, Italian seasoning, and salt.
- Brush the garlic butter generously over each rollup.
- Bake for 10-12 minutes until golden brown and cheese is melted.
- Optional: Brush any leftover garlic butter on top before serving.
- Prep Time: 10 minutes
- Cook Time: 12 minutes
- Category: Appetizer
- Method: Baking
- Cuisine: Italian
Nutrition
- Serving Size: 1 serving
- Calories: 150
- Sugar: 0g
- Sodium: 230mg
- Fat: 9g
- Saturated Fat: 5g
- Unsaturated Fat: 3g
- Trans Fat: 0g
- Carbohydrates: 14g
- Fiber: <1g
- Protein: 4g
- Cholesterol: 20mg