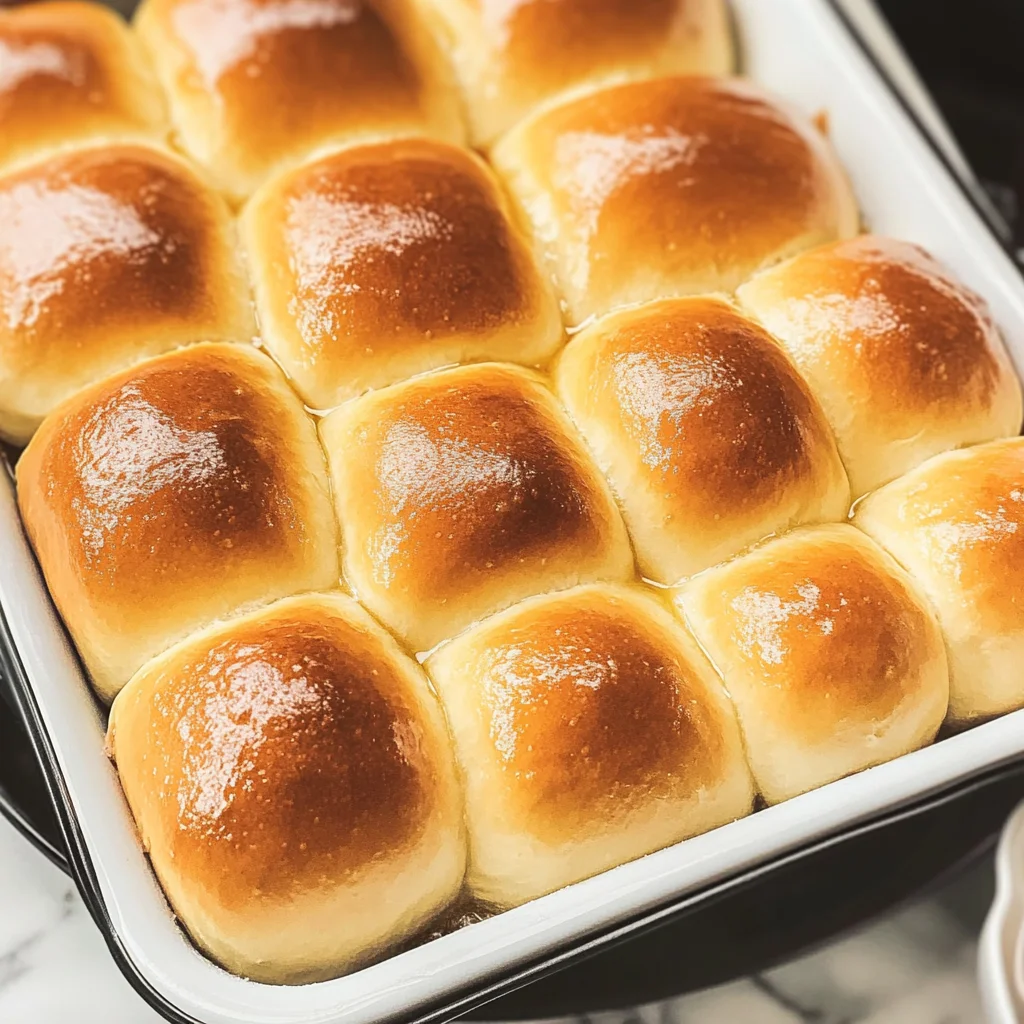
Nothing beats the smell of fresh bread baking in the oven. The Perfect Old Fashioned Dinner Rolls are not only delicious but also bring comfort and warmth to any table. Perfect for family gatherings, holidays, or a simple weeknight dinner, these rolls are soft, fluffy, and bursting with flavor. Their unique texture and slight sweetness from honey make them irresistible.
Jump to:
- Why You’ll Love This Recipe
- Tools and Preparation
- Essential Tools and Equipment
- Importance of Each Tool
- Ingredients
- For the Dough
- For Brushing
- How to Make Perfect Old Fashioned Dinner Rolls
- Step 1: Activate the Yeast
- Step 2: Mix the Dough
- Step 3: Knead the Dough
- Step 4: First Rise
- Step 5: Shape the Rolls
- Step 6: Second Rise
- Step 7: Bake
- How to Serve Perfect Old Fashioned Dinner Rolls
- With Butter and Jam
- As a Sandwich Base
- Pairing with Soups
- Dipping in Olive Oil
- Accompanying Salads
- For Breakfast
- How to Perfect Perfect Old Fashioned Dinner Rolls
- Best Side Dishes for Perfect Old Fashioned Dinner Rolls
- Common Mistakes to Avoid
- Storage & Reheating Instructions
- Refrigerator Storage
- Freezing Perfect Old Fashioned Dinner Rolls
- Reheating Perfect Old Fashioned Dinner Rolls
- Frequently Asked Questions
- Can I use whole wheat flour instead of all-purpose flour?
- How do I know when my dough has risen enough?
- What should I do if my dough isn’t rising?
- Can I make these rolls ahead of time?
- How do I keep my dinner rolls soft after baking?
- Final Thoughts
- 📖 Recipe Card
Why You’ll Love This Recipe
- Homemade Freshness: Enjoy the delightful aroma of freshly baked rolls right from your kitchen.
- Versatile Serving Options: Serve them as a side dish, use them for sandwiches, or enjoy them with butter.
- Simple Ingredients: Made with basic pantry staples that you likely already have at home.
- Family-Friendly Activity: Involve the kids in the preparation process for fun bonding time.
- Great for Leftovers: These rolls can be easily stored and reheated without losing their softness.
Tools and Preparation
To make the Perfect Old Fashioned Dinner Rolls, having the right tools will ensure your baking goes smoothly. Here’s what you’ll need:
Essential Tools and Equipment
- Stand mixer
- Mixing bowls
- Measuring cups
- Baking sheet
- Clean kitchen towel
Importance of Each Tool
- Stand mixer: Helps in kneading the dough efficiently without much effort.
- Mixing bowls: Necessary for combining ingredients without making a mess.
- Baking sheet: Provides an even surface for baking the rolls to perfection.
Ingredients
For the Dough
- 2 cups warm water (100–110°f)
- 1/4 cup honey
- 4 tsp active dry yeast
- 1/2 cup salted butter, at room temperature
- 2 eggs
- 2 1/2 tsp salt
- 7 cups all-purpose flour
For Brushing
- 3–4 tbsp melted butter
Servings: 4
Prep Time: 25 minutes
Cook Time: 15 minutes
Total Time: 105 minutes
How to Make Perfect Old Fashioned Dinner Rolls
Step 1: Activate the Yeast
First, combine warm water and honey in a mixing bowl. Sprinkle active dry yeast over the top. Let it sit for about 5–10 minutes until it becomes frothy.
Step 2: Mix the Dough
In a stand mixer bowl, add melted butter, eggs, and salt. Pour in the yeast mixture once it’s frothy. Gradually add flour while mixing on low speed until a soft dough forms.
Step 3: Knead the Dough
Knead the dough using your stand mixer with a dough hook attachment for about 5–7 minutes until it’s smooth and elastic.
Step 4: First Rise
Place the dough in a greased bowl and cover it with a clean kitchen towel. Let it rise in a warm place for about an hour or until doubled in size.
Step 5: Shape the Rolls
After rising, punch down the dough gently to release air bubbles. Divide it into equal pieces and shape each piece into a ball.
Step 6: Second Rise
Arrange shaped rolls on a greased baking sheet, leaving space between each roll. Cover again with a towel and let them rise for another 30 minutes.
Step 7: Bake
Preheat your oven to 375°F (190°C). Bake rolls for about 15 minutes until golden brown. Brush immediately with melted butter after removing from oven.
Enjoy your Perfect Old Fashioned Dinner Rolls warm straight out of the oven!
How to Serve Perfect Old Fashioned Dinner Rolls
Serving Perfect Old Fashioned Dinner Rolls can elevate any meal. These rolls are soft, buttery, and perfect for accompanying a variety of dishes. Here are some delightful serving suggestions to make the most of your freshly baked rolls.
With Butter and Jam
- Spread a generous layer of butter on warm rolls and top with your favorite fruit jam for a sweet treat.
As a Sandwich Base
- Slice the rolls in half and fill them with ham, turkey, or your choice of deli meats for a delicious sandwich option.
Pairing with Soups
- Serve these rolls alongside hearty soups like butternut squash or chicken noodle for a comforting meal.
Dipping in Olive Oil
- Drizzle high-quality olive oil on your plate and sprinkle with balsamic vinegar for a simple yet tasty dip.
Accompanying Salads
- Use the rolls to scoop up fresh salads or enjoy them on the side to balance out flavors.
For Breakfast
- Toast the rolls lightly and serve with eggs or breakfast meats for a delightful morning meal.
How to Perfect Perfect Old Fashioned Dinner Rolls
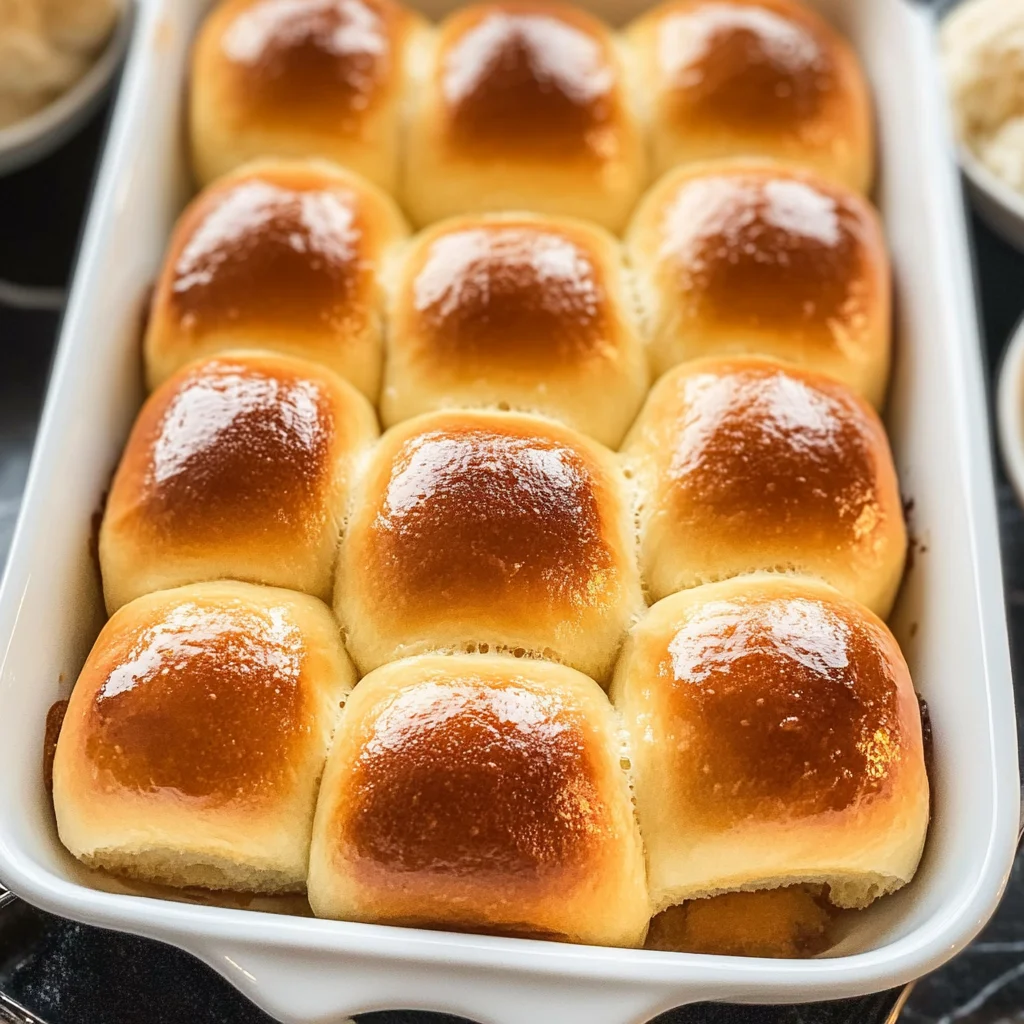
Making Perfect Old Fashioned Dinner Rolls is easier than you think when you follow these tips. Here’s how to ensure your rolls rise beautifully and taste amazing.
- Use warm water: Ensure the water temperature is between 100-110°F for optimal yeast activation.
- Knead thoroughly: Knead the dough until it’s smooth and elastic; this helps develop gluten for fluffy rolls.
- Allow proper rising: Let the dough rise in a warm place until it doubles in size; this step is crucial for light texture.
- Don’t skip brushing: Brush the tops with melted butter before baking for a golden finish.
- Adjust flour as needed: Depending on humidity, you may require slightly more or less flour; add gradually.
- Store correctly: Once cooled, store the rolls in an airtight container to keep them soft.
Best Side Dishes for Perfect Old Fashioned Dinner Rolls
Perfect Old Fashioned Dinner Rolls pair wonderfully with many side dishes. Here’s a list of great accompaniments that complement their rich flavor.
- Creamy Mashed Potatoes
A classic side that adds creaminess to your meal; serve with gravy for extra flavor. - Roasted Vegetables
A mix of seasonal veggies tossed in olive oil provides vibrant color and nutrition to your plate. - Green Bean Almondine
Crisp green beans sautéed with almonds offer a crunchy contrast to the soft rolls. - Caesar Salad
The crispness of romaine lettuce topped with Caesar dressing adds freshness alongside your dinner rolls. - Baked Macaroni and Cheese
This cheesy comfort food pairs perfectly, making every bite satisfying. - Beef Stew
A hearty beef stew invites you to mop up every delicious drop with these fluffy dinner rolls. - Corn on the Cob
Sweet corn adds a touch of sweetness that complements the savory bread nicely. - Stuffing
Use leftover dinner rolls to create stuffing; it’s perfect for holiday meals or any family gathering.
Common Mistakes to Avoid
Making Perfect Old Fashioned Dinner Rolls can be challenging, but avoiding these common mistakes will help you achieve delicious results.
- Using cold ingredients: Always ensure your butter and eggs are at room temperature. Cold ingredients can hinder yeast activation and result in dense rolls.
- Not measuring flour accurately: Too much flour can lead to dry rolls. Use a kitchen scale or fluff the flour before scooping for accuracy.
- Skipping the first rise: Allow the dough to rise until it doubles in size. Skipping this step can result in less fluffy rolls.
- Overbaking: Keep an eye on your rolls as they bake. Overbaking can dry them out, so remove them once golden brown.
- Neglecting to brush with butter: Brushing melted butter on top right after baking adds flavor and moisture, enhancing the overall taste.
Storage & Reheating Instructions
Refrigerator Storage
- Store in an airtight container for up to 3 days.
- Place parchment paper between layers to prevent sticking.
Freezing Perfect Old Fashioned Dinner Rolls
- Freeze individually wrapped rolls for up to 3 months.
- Use freezer-safe bags or containers to avoid freezer burn.
Reheating Perfect Old Fashioned Dinner Rolls
- Oven: Preheat to 350°F and bake for about 10 minutes until warm.
- Microwave: Heat on medium power for 15-20 seconds, checking frequently to avoid drying out.
- Stovetop: Place in a covered skillet over low heat for about 5 minutes, turning occasionally.
Frequently Asked Questions
Here are some common questions about making Perfect Old Fashioned Dinner Rolls that will help you get the best results.
Can I use whole wheat flour instead of all-purpose flour?
You can use whole wheat flour, but it may change the texture and density of the rolls. It’s best to substitute half of the all-purpose flour with whole wheat for better results.
How do I know when my dough has risen enough?
The dough should double in size when properly risen. You can gently poke it; if it holds an indentation, it’s ready for shaping.
What should I do if my dough isn’t rising?
Ensure your yeast is fresh and your water is warm (not hot). If too cool, it may not activate properly. Allow more time for rising in a warm environment if needed.
Can I make these rolls ahead of time?
Yes! You can prepare the dough and refrigerate it overnight before baking or freeze them after shaping.
How do I keep my dinner rolls soft after baking?
To keep them soft, brush with melted butter immediately after baking and store in an airtight container once cooled.
Final Thoughts
These Perfect Old Fashioned Dinner Rolls are not only delicious but also versatile. They make a great addition to any meal, whether it’s a holiday feast or a simple weeknight dinner. Feel free to customize them by adding herbs or cheese for extra flavor. Try this recipe today and enjoy the warm, comforting aroma of fresh-baked bread!
Did You Enjoy Making This Recipe? Please rate this recipe with ⭐⭐⭐⭐⭐ or leave a comment.
📖 Recipe Card
Print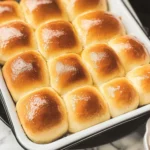
Perfect Old Fashioned Dinner Rolls
- Total Time: 40 minutes
- Yield: 12 rolls 1x
Description
Perfect Old Fashioned Dinner Rolls are the ultimate comfort food, filling your home with the delightful scent of freshly baked bread. These rolls are soft, fluffy, and slightly sweetened with honey, making them a perfect addition to any meal. Ideal for family gatherings or simple weeknight dinners, they can be enjoyed warm with butter or transformed into delicious sandwiches. With just a few pantry staples and straightforward steps, you can create these nostalgic rolls that will impress family and friends alike.
Ingredients
- 2 cups warm water (100–110°F)
- 1/4 cup honey
- 4 tsp active dry yeast
- 1/2 cup salted butter (room temperature)
- 2 eggs
- 2 1/2 tsp salt
- 7 cups all-purpose flour
- 3–4 tbsp melted butter (for brushing)
Instructions
- 1. Activate the yeast by combining warm water and honey in a mixing bowl. Sprinkle yeast on top and let sit for 5–10 minutes until frothy.
- 2. In a stand mixer bowl, combine melted butter, eggs, and salt. Add the yeast mixture once frothy.
- 3. Gradually mix in flour on low speed until a soft dough forms.
- 4. Knead with a dough hook for 5–7 minutes until smooth and elastic.
- 5. Place dough in a greased bowl, cover with a towel, and let rise in a warm place for about an hour until doubled in size.
- 6. Punch down the dough, divide into equal pieces, shape into balls, and arrange on a greased baking sheet.
- 7. Cover and let rise for another 30 minutes.
- 8. Preheat oven to 375°F (190°C), bake rolls for about 15 minutes until golden brown, then brush with melted butter.
- Prep Time: 25 minutes
- Cook Time: 15 minutes
- Category: Bread
- Method: Baking
- Cuisine: American
Nutrition
- Serving Size: 1 roll (60g)
- Calories: 210
- Sugar: 3g
- Sodium: 250mg
- Fat: 8g
- Saturated Fat: 4g
- Unsaturated Fat: 3g
- Trans Fat: 0g
- Carbohydrates: 31g
- Fiber: 1g
- Protein: 5g
- Cholesterol: 30mg