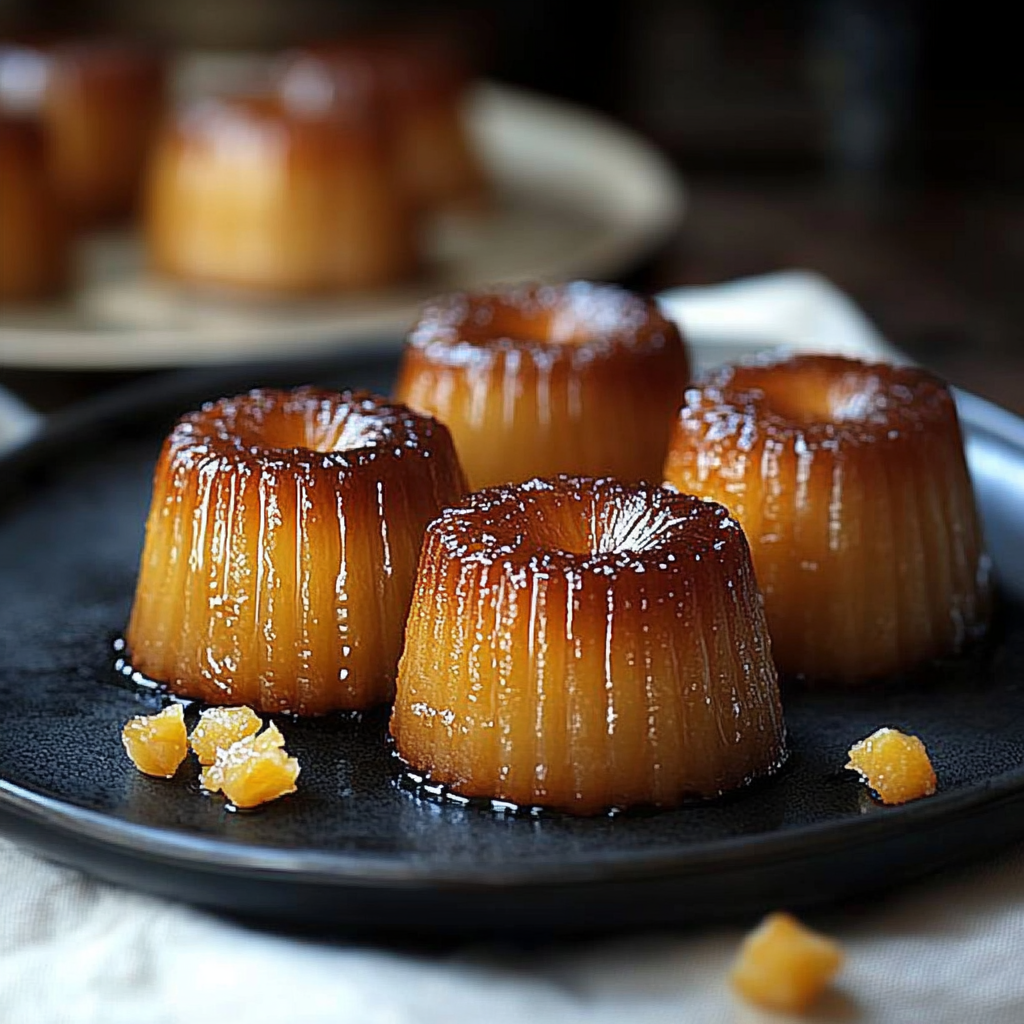
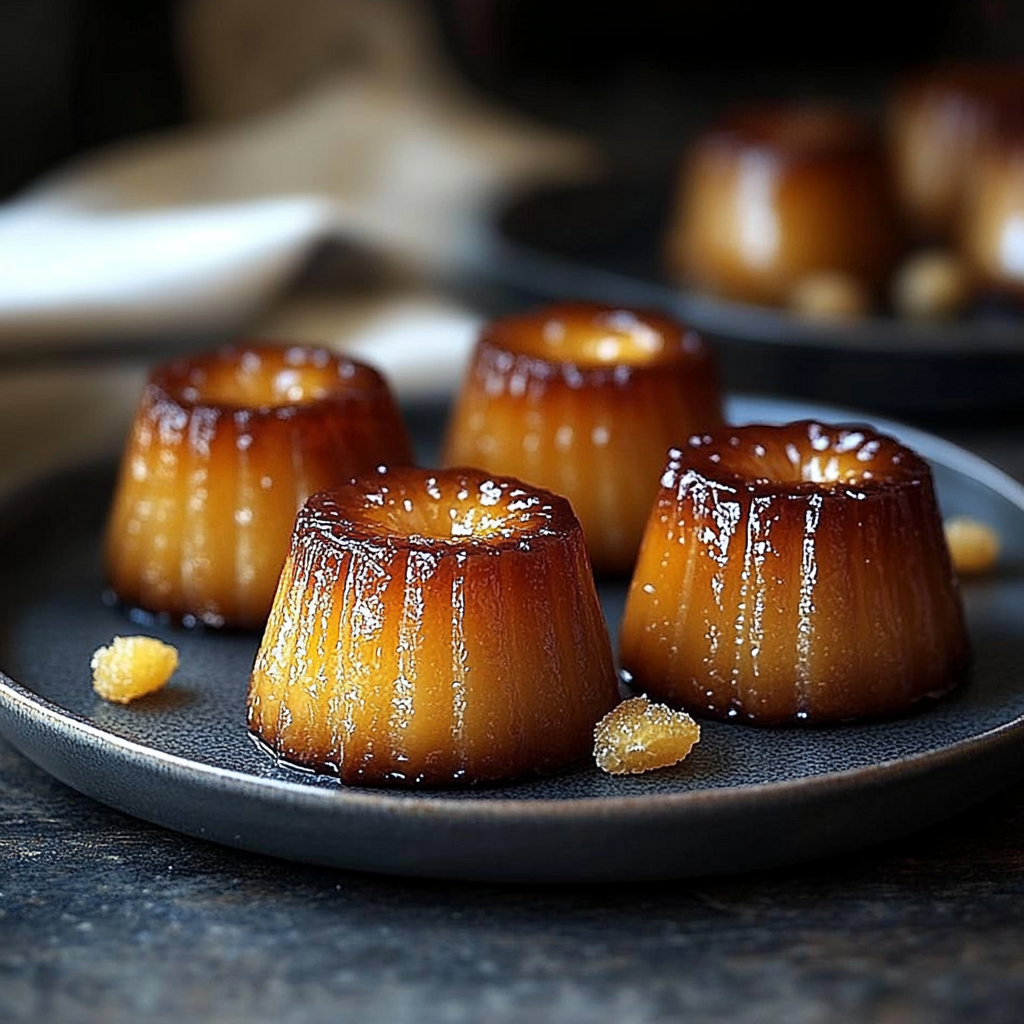
Cannelés, those delightful little French pastries, are a treat that many have come to love for their unique texture and flavor. With a crispy caramelized crust and a soft, custardy interior, these treats are perfect for any occasion, from an afternoon tea to a dinner party. The secret to making perfect cannelés lies in using high-quality ingredients and allowing them to bake slowly at a specific temperature. These pastries may seem intimidating at first glance, but with the right recipe and guidance, you’ll find they are quite achievable in your own kitchen. fruity breakfast option In this article, you’ll discover not only how to make cannelés but also why they should be on your baking list. Whether you’re an experienced baker or just starting out, this guide will walk you through every step of the process. So grab your baking molds and let’s get started on creating these indulgent bites of heaven!
Jump to:
- Why You’ll Love This Cannelés
- Ingredients for Cannelés
- How to Make Cannelés
- Tips and Tricks
- How to Serve Cannelés
- Make Ahead and Storage
- Suggestions for Cannelés :
- Avoid Overmixing the Batter
- Use the Right Molds
- Temperature Control Matters
- Mind Your Ingredient Quality
- FAQs :
- What are Cannelés?
- How long do Cannelés last?
- Can I make Cannelés ahead of time?
- What variations can I try with Cannelés?
- Conclusion for Cannelés :
- 📖 Recipe Card
Why You’ll Love This Cannelés
- Unique Texture: The combination of a crispy outer shell and a soft inner custard creates a delightful contrast that is truly satisfying.
- Impressive Presentation: Their elegant shape makes them visually appealing, perfect for impressing guests at gatherings or special occasions.
- Flexible Flavor Options: Customize your cannelés by infusing different flavors such as vanilla, rum, or even citrus zest to suit your taste preferences.
Ingredients for Cannelés
Here’s what you’ll need to make this delicious dish:
- Whole Milk: Use fresh whole milk for the best creaminess and flavor in your custard base.
- Sugar: Granulated sugar adds sweetness to the batter; make sure it’s fully dissolved before baking.
- Eggs: Both whole eggs and egg yolks contribute richness to the custard filling.
- All-Purpose Flour: This is the main structure-building ingredient for your cannelés; sift it for lightness.
- Vanilla Bean or Extract: For that classic flavor, vanilla enhances the overall taste of your pastries; consider using fresh vanilla bean for deeper flavor.
- Rum: A splash of dark rum adds depth and complexity to the flavor profile of your cannelés.
The full ingredients list, including measurements, is provided in the recipe card directly below.
How to Make Cannelés
Follow these simple steps to prepare this delicious dish:
Step 1: Prepare the Batter
In a saucepan over medium heat, combine whole milk with sugar and split vanilla bean (if using). Stir until sugar dissolves, then remove from heat and let cool slightly.
Step 2: Mix Dry Ingredients
In a mixing bowl, whisk together all-purpose flour and salt. Gradually add cooled milk mixture into the dry ingredients while whisking continuously until smooth.
Step 3: Incorporate Eggs
Add in whole eggs and egg yolks one at a time into the batter while whisking gently until fully incorporated.
Step 4: Add Rum
Stir in dark rum into the batter for added flavor; mix well until integrated.
Step 5: Rest the Batter
Cover the batter with plastic wrap and refrigerate for at least two hours or overnight for best results.
Step 6: Bake
Preheat oven to 425°F (220°C). Pour batter into greased cannelé molds filling each about three-quarters full. Bake for approximately 45-50 minutes until deeply browned.
Transfer to wire racks to cool completely before serving these delectable treats.
Tips and Tricks
Here are some helpful tips to ensure the best results for your dish:
- Mold Preparation: Ensure that your cannelé molds are well-greased with butter or oil for easy removal after baking.
- Baking Temperature: Start at a higher temperature initially before lowering it halfway through baking to achieve that signature crust.
- Storage Tips: Store leftover cannelés in an airtight container at room temperature but consume within a few days for optimal freshness.
How to Serve Cannelés
This Cannelés is versatile and pairs wonderfully with:
- Fresh Berries: The natural sweetness of berries contrasts beautifully with the rich, custardy interior of the Cannelés.
- Cream or Custard Sauce: A drizzle of cream enhances the dessert experience, adding a luxurious touch that complements the texture.
- Espresso or Coffee: The bold flavors of coffee perfectly balance the sweetness of the Cannelés, making for a delightful pairing. savory and sweet balance.
Feel free to pair it with your favorite sides for a personalized meal!
Make Ahead and Storage
- Make Ahead: You can prepare the batter for Cannelés up to 24 hours in advance. Simply mix all ingredients, cover tightly, and refrigerate. This resting period allows flavors to meld and improves texture. For more inspiration, check out this preserved lemons recipe recipe.
- Storing: Store leftover Cannelés in an airtight container at room temperature for up to two days. For longer storage, refrigerate them for up to a week or freeze for up to three months.
- Reheating: To reheat, place Cannelés in a preheated oven at 350°F (175°C) for about 5-7 minutes to restore their slightly crisp exterior. Avoid microwaving as it can make them soggy.
Suggestions for Cannelés :
Avoid Overmixing the Batter
One common mistake when making cannelés is overmixing the batter. While you want to ensure that all ingredients are well incorporated, excessive mixing can introduce too much air, affecting the texture. The batter should be smooth but not overly aerated. This can lead to uneven baking and a less desirable chewy interior. Gently fold your ingredients together until just combined for the best results. Remember that a little lumpiness is okay; it will smooth out during baking.
Use the Right Molds
Choosing the correct molds is crucial for perfect cannelés. Traditional copper molds deliver the best results due to their excellent heat conductivity. If you opt for silicone molds, they may not produce the same crisp exterior and soft center. Also, ensure that your molds are well-greased before pouring in the batter. This step prevents sticking and helps achieve that signature caramelized crust. Investing in quality molds will significantly enhance your baking experience.
Temperature Control Matters
Temperature plays a vital role in baking cannelés. Preheat your oven thoroughly to ensure even cooking from the start. A hot oven allows the exterior to form a crust quickly while keeping the inside custardy and soft. An initial high temperature helps create steam, which is essential for rising. After about 40 minutes, reduce the temperature to allow them to cook through without burning. Monitoring your oven’s temperature with an external thermometer can help maintain accuracy throughout the baking process. For more inspiration, check out this recipe index for more ideas recipe.
Mind Your Ingredient Quality
The quality of ingredients directly impacts the flavor and texture of your cannelés. Use fresh eggs, rich dairy like whole milk or cream, and high-quality vanilla extract for a more intense flavor profile. Substituting with lower-quality or expired ingredients can result in bland or inconsistent results. Always choose organic where possible; this small change ensures you’re getting the most vibrant flavors from your baked goods.
FAQs :
What are Cannelés?
Cannelés are small French pastries with a unique texture and flavor profile. They feature a rich custard-like interior surrounded by a crispy caramelized crust, making them delightful bites for any occasion. Traditionally made with simple ingredients such as eggs, milk, sugar, flour, and vanilla, these treats have their origins in Bordeaux, France. Their distinct shape comes from traditional molds that give them their signature fluted edges. Enjoy them as a sweet treat with coffee or tea or serve them at special gatherings.
How long do Cannelés last?
Cannelés are best enjoyed fresh but can last for up to three days if stored properly. To maintain their crisp exterior, keep them in an airtight container at room temperature rather than refrigerating them, which could make them soggy. If you wish to extend their shelf life further, consider freezing them after they’ve cooled completely. When ready to eat frozen cannelés, simply reheat them in an oven at low heat until warmed through to restore their delightful texture.
Can I make Cannelés ahead of time?
Yes! You can prepare cannelés ahead of time by making the batter and chilling it overnight in the refrigerator before baking. This resting period allows flavors to meld beautifully and improves the overall texture of your pastries after baking. However, it’s best to bake them right before serving for optimal freshness and crispness on the outside while maintaining that soft interior characteristic of well-made cannelés.
What variations can I try with Cannelés?
While classic cannelés feature vanilla flavoring, you can explore various variations by introducing different flavors into your batter! Consider adding citrus zest like orange or lemon for a refreshing twist or infusing spices such as cinnamon or nutmeg for warmth and depth of flavor. delicious chocolate dessert pairing Additionally, you could incorporate chocolate or coffee into your recipes for an indulgent spin on this traditional treat! Experimenting with fillings like fruit preserves provides even more creative options while staying true to this beloved pastry style. unique dessert combination.
Conclusion for Cannelés :
In summary, creating perfect cannelés requires attention to detail from ingredient selection to temperature control during baking. Avoid common pitfalls like overmixing and using inappropriate molds by following suggested guidelines closely for successful outcomes every time you bake these delightful treats. Remember that quality ingredients contribute significantly toward achieving rich flavors while maintaining proper storage ensures they stay fresh longer after preparation—ideal whether enjoyed alone or paired with beverages! With practice and patience, you’ll master these exquisite French pastries that impress friends and family alike.
Did You Enjoy Making This Recipe? Please rate this recipe with ⭐⭐⭐⭐⭐ or leave a comment.
📖 Recipe Card
Print
Indulgent Cannelés Recipe
- Total Time: 1 hour 20 minutes
- Yield: Approximately 12 servings 1x
Description
Delight in the exquisite taste of French cannelés, featuring a crispy caramelized shell and a luscious custard-like interior. These elegant pastries are perfect for any occasion, from tea parties to festive gatherings. With just the right balance of flavors and textures, you’ll impress your guests and satisfy your sweet tooth with this simple yet refined recipe.
Ingredients
- 2 cups whole milk
- 1 cup granulated sugar
- 2 large eggs
- 2 egg yolks
- 1 cup all-purpose flour, sifted
- 1 tsp vanilla extract or seeds from 1 vanilla bean
- 2 tbsp dark rum
Instructions
- In a saucepan over medium heat, combine whole milk, sugar, and split vanilla bean (if using). Stir until dissolved; remove from heat and let cool slightly.
- In a mixing bowl, whisk together flour and a pinch of salt. Gradually add the cooled milk mixture while whisking until smooth.
- Incorporate eggs one at a time into the batter while whisking gently.
- Stir in dark rum until well mixed.
- Cover and refrigerate the batter for at least two hours or overnight for best results.
- Preheat oven to 425°F (220°C). Grease cannelé molds and fill each about three-quarters full with batter.
- Bake for 45-50 minutes until deeply browned. Cool completely on wire racks before serving.
- Prep Time: 30 minutes
- Cook Time: 50 minutes
- Category: Dessert
- Method: Baking
- Cuisine: French
Nutrition
- Serving Size: 1 serving
- Calories: 190
- Sugar: 13g
- Sodium: 45mg
- Fat: 7g
- Saturated Fat: 4g
- Unsaturated Fat: 3g
- Trans Fat: 0g
- Carbohydrates: 26g
- Fiber: <1g
- Protein: 4g
- Cholesterol: 90mg