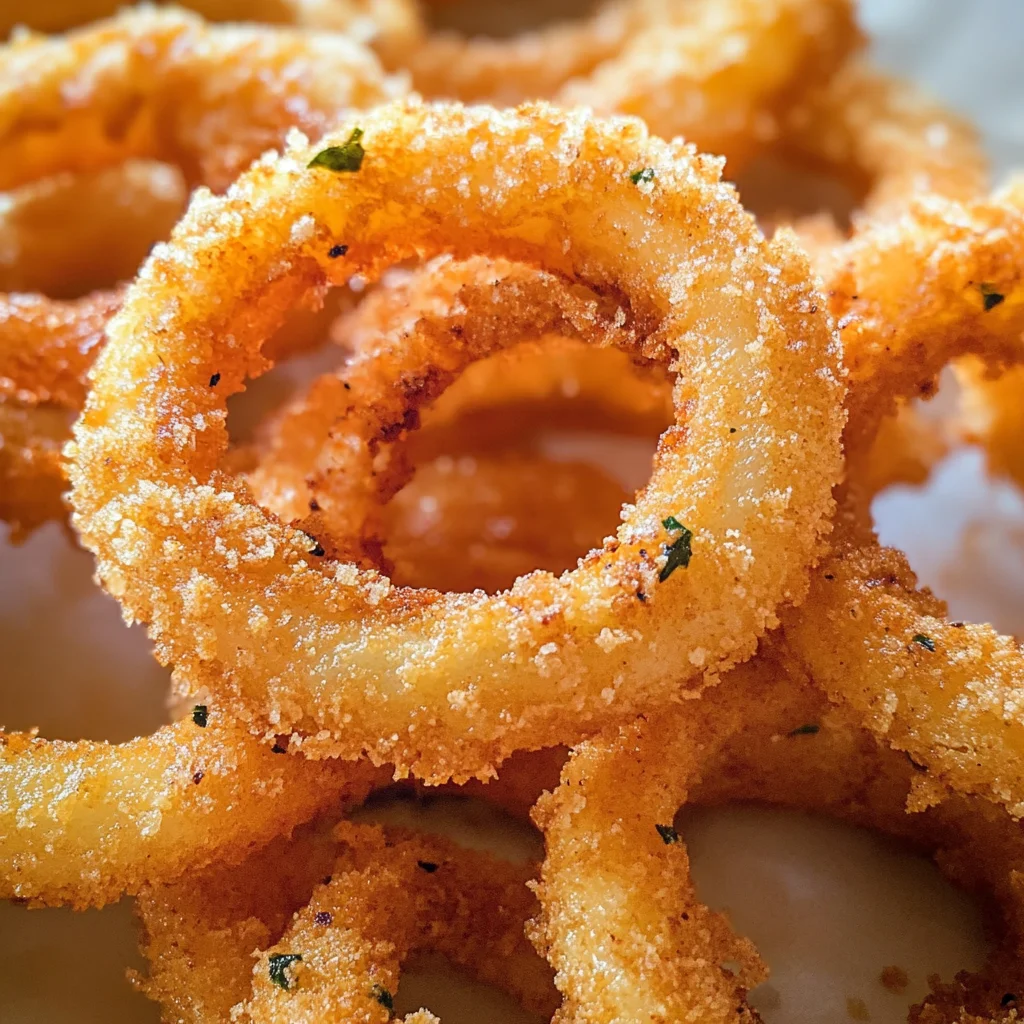
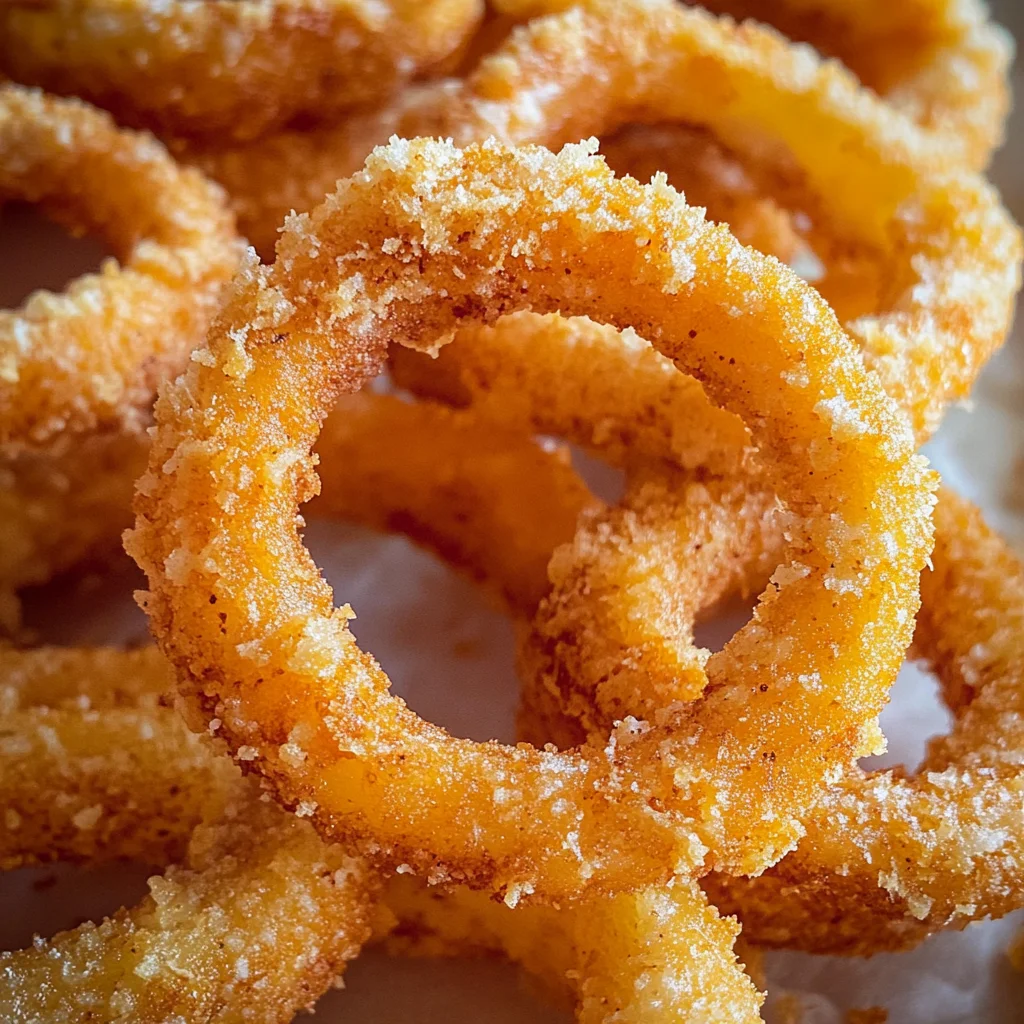
Onion rings are a classic snack that everyone loves! Crispy, golden, and bursting with flavor, these onion rings make for the perfect addition to any meal or a delightful stand-alone treat. Whether you’re hosting a gathering or simply craving something crunchy, this recipe guarantees to satisfy your taste buds. With fresh yellow onions and a seasoned batter that’s enhanced by crunchy panko bread crumbs, you’ll find that these onion rings are a diner-style delight that elevates any occasion.
Jump to:
- Why You’ll Love This Recipe
- Tools and Preparation
- Essential Tools and Equipment
- Importance of Each Tool
- Ingredients
- How to Make Onion Rings
- Step 1: Heat the Oil
- Step 2: Prepare the Flour Mixture
- Step 3: Dredge the Onion Rings
- Step 4: Make the Batter
- Step 5: Prepare Panko Coating
- Step 6: Coat the Onion Rings
- Step 7: Frying the Onion Rings
- Step 8: Drain Excess Oil
- Step 9: Serve Warm
- How to Serve Onion Rings
- With Dipping Sauces
- As a Side Dish
- On Salads
- How to Perfect Onion Rings
- Best Side Dishes for Onion Rings
- Common Mistakes to Avoid
- Storage & Reheating Instructions
- Refrigerator Storage
- Freezing Onion Rings
- Reheating Onion Rings
- Frequently Asked Questions
- Can I make onion rings ahead of time?
- What type of onion is best for onion rings?
- Can I bake onion rings instead of frying?
- How do I keep my onion rings crispy after frying?
- What dips pair well with onion rings?
- Final Thoughts
- 📖 Recipe Card
Why You’ll Love This Recipe
- Crispy Texture: The combination of flour and panko creates a deliciously crunchy coating that will have you reaching for more.
- Flavorsome Breading: The seasoned mix adds depth to the onions’ natural sweetness, making each bite unforgettable.
- Versatile Snack: Perfect as an appetizer, side dish, or even a topping for burgers, these onion rings fit any meal.
- Easy Preparation: With simple steps and common ingredients, anyone can whip up these tasty treats in no time.
- Perfect for Sharing: Great for parties or movie nights, this recipe yields about 50 onion rings—enough to share with friends!
Tools and Preparation
To make these onion rings efficiently, you’ll need some essential tools. Having the right equipment can make the process smoother and more enjoyable.
Essential Tools and Equipment
- Heavy-bottomed pot or deep fryer
- Whisk
- Shallow dishes (for dredging)
- Baking sheet
- Measuring cups and spoons
- Slotted spoon or tongs
Importance of Each Tool
- Heavy-bottomed pot or deep fryer: Ensures even heating for perfectly fried onion rings without hot spots.
- Whisk: Helps mix batter ingredients thoroughly for a smooth consistency.
- Shallow dishes: Allows easy access when dredging the onion rings in flour and panko.
Ingredients
Ingredients:
– 2 large yellow onions (about 12 oz each), sliced 1/3 inch thick, separated into individual rings
– 1 cup (5 oz) all-purpose flour (scoop and level to measure)
– 1 tsp salt (and 1/2 tsp pepper, or to taste)
– 3/4 tsp garlic powder
– 1/2 tsp paprika
– 1/2 tsp baking powder
– 1 cup buttermilk
– 1 large egg
– 2 1/2 cups Panko bread crumbs, or more if needed
– 6 cups vegetable oil, or peanut oil, for frying
How to Make Onion Rings
Step 1: Heat the Oil
Pour vegetable oil into a pot. Heat to 365 degrees over medium heat while monitoring the temperature. Meanwhile, prepare the onion rings.
Step 2: Prepare the Flour Mixture
In a shallow dish, whisk together:
1. Flour
2. Salt
3. Pepper
4. Garlic powder
5. Paprika
6. Baking powder
Step 3: Dredge the Onion Rings
Dredge onion rings in the flour mixture:
* Shake off excess flour by tapping them together.
* Transfer coated onion rings to a baking sheet and reserve remaining flour mixture.
Step 4: Make the Batter
In a liquid measuring cup:
1. Whisk together buttermilk and egg.
2. Pour this mixture into the remaining flour mixture.
3. Whisk until blended; adjust consistency with more flour if needed.
Step 5: Prepare Panko Coating
Pour panko into a separate shallow dish for coating.
Step 6: Coat the Onion Rings
Working with a few onion rings at a time:
1. Dip each ring in the batter mixture on both sides.
2. Shake off excess batter back into the dish.
3. Transfer to panko and press firmly to coat both sides.
Step 7: Frying the Onion Rings
Transfer coated onion rings to preheated oil:
* Fry until golden brown, turning halfway through (about 20-30 seconds per side).
* Fry in batches of no more than ten at a time to avoid overcrowding.
Step 8: Drain Excess Oil
Drain fried onion rings onto paper towel-lined baking dishes. Repeat until all onion rings are cooked.
Step 9: Serve Warm
Serve warm with ketchup or fry sauce if desired.
Enjoy your homemade crispy Onion Rings!
How to Serve Onion Rings
Onion rings are a delicious, crunchy treat that pairs well with various sides and dips. Their crispy texture and savory flavor make them a favorite at any meal. Here are some serving suggestions to enhance your onion ring experience.
With Dipping Sauces
- Ketchup – A classic choice, this tangy sauce complements the sweetness of the onion rings perfectly.
- Ranch Dressing – Creamy ranch adds a zesty flavor that contrasts beautifully with the crispy texture.
- Honey Mustard – The sweet and tangy blend of honey mustard offers a unique twist to your onion rings.
As a Side Dish
- Burgers – Serve onion rings alongside juicy burgers for an ultimate comfort food experience.
- Hot Dogs – Elevate your hot dog meal by adding crispy onion rings on the side or even on top as a topping.
- Sandwiches – Pair these crunchy delights with your favorite sandwiches for an extra layer of flavor.
On Salads
- Tossed Salad – Add onion rings on top of mixed greens for a crunchy salad that is sure to impress.
- Caesar Salad – Replace croutons with onion rings to add a delightful twist to this classic dish.
How to Perfect Onion Rings
Making perfect onion rings involves attention to detail and technique. Follow these tips for the best results.
- Choose the Right Onions – Yellow onions offer the ideal balance of sweetness and flavor, making them perfect for frying.
- Maintain Oil Temperature – Ensure your oil is hot enough (365°F) before frying; this helps achieve that golden crispiness without making them greasy.
- Double Dip for Extra Crunch – For an even crunchier texture, double dip each onion ring in batter and then panko before frying.
- Fry in Batches – Avoid overcrowding the pan; fry only a few rings at a time to keep the oil temperature consistent and ensure even cooking.
- Use Panko Bread Crumbs – Panko creates a lighter, crispier coating compared to regular bread crumbs, leading to superior texture.
- Drain Properly – Let fried onion rings rest on paper towels to absorb excess oil, keeping them crispy.
Best Side Dishes for Onion Rings
Onion rings can be complemented by various side dishes that enhance their flavors. Here are some great options:
- French Fries – A classic pairing; serve them together for an unbeatable snack combo.
- Coleslaw – This refreshing side adds crunch and tanginess, balancing the richness of fried food.
- Macaroni and Cheese – Creamy mac and cheese provides comfort and pairs well with crispy bites.
- Potato Wedges – These chunky wedges offer another crunchy option that goes hand-in-hand with onion rings.
- Grilled Vegetables – Lightly grilled veggies add a healthy contrast, bringing freshness to your plate.
- Baked Beans – Sweet and savory baked beans complement the salty goodness of onion rings beautifully.
Common Mistakes to Avoid
Making Onion Rings at home can be simple, but a few common mistakes can affect your results. Here are some pitfalls to avoid:
- Skipping the soaking step: If you don’t soak the onion rings in buttermilk, they may not be as tender and flavorful. The soak helps infuse moisture and flavor into the onions.
- Overcrowding the frying pan: Frying too many onion rings at once can lead to uneven cooking. Always fry in small batches to ensure a crispy texture.
- Using the wrong oil temperature: If your oil is too cool, the onion rings will absorb oil and become greasy. Ensure your oil is heated to 365 degrees for optimal frying.
- Neglecting seasoning in the batter: Failing to season your flour mixture can result in bland onion rings. Don’t forget to add salt and spices for enhanced flavor!
- Inadequate coating of panko crumbs: If the onion rings aren’t thoroughly coated with panko, they may not achieve that desired crunch. Press firmly to ensure every side is well-covered.
Storage & Reheating Instructions
Refrigerator Storage
- item Store leftover onion rings in an airtight container.
- item They will last up to 3 days in the refrigerator.
Freezing Onion Rings
- item Freeze uncooked or cooked onion rings on a baking sheet before transferring them to a freezer bag.
- item They can be stored for up to 3 months in the freezer.
Reheating Onion Rings
- item Oven: Preheat your oven to 400°F (200°C). Place onion rings on a baking sheet and heat for about 10 minutes until crispy.
- item Microwave: This method may make them soggy; use it only if necessary. Heat for 30 seconds at a time until warm.
- item Stovetop: Reheat them in a skillet over medium heat for about 5-7 minutes, turning occasionally for even heating.
Frequently Asked Questions
Here are some frequently asked questions about making and enjoying Onion Rings:
Can I make onion rings ahead of time?
You can prepare the batter and slice the onions ahead of time, but it’s best to fry them just before serving for maximum crispiness.
What type of onion is best for onion rings?
Yellow onions are ideal because they have a perfect balance of sweetness and flavor that enhances the taste of your onion rings.
Can I bake onion rings instead of frying?
Yes, you can bake them! Coat them with oil and bake at 425°F (220°C) for about 15-20 minutes, flipping halfway through for even cooking.
How do I keep my onion rings crispy after frying?
Place fried onion rings on a wire rack instead of paper towels. This allows air circulation and prevents sogginess.
What dips pair well with onion rings?
Ketchup is classic, but try ranch dressing or spicy mayo for an exciting twist!
Final Thoughts
These crispy and flavorful Onion Rings are sure to satisfy any craving. They’re perfect as a side dish or snack, and you can easily customize them with different spices or serve them with various dips. Get creative in your kitchen and enjoy this delicious treat!
Did You Enjoy Making This Recipe? Please rate this recipe with ⭐⭐⭐⭐⭐ or leave a comment.
📖 Recipe Card
Print
Crispy Homemade Onion Rings
- Total Time: 30 minutes
- Yield: Approximately 50 onion rings 1x
Description
Onion rings are a beloved classic snack that can elevate any meal or stand proudly on their own as a delicious treat. With their perfectly crispy coating and sweet onion flavor, these homemade onion rings are sure to impress your family and friends. Made with fresh yellow onions and a seasoned batter enhanced by crunchy panko breadcrumbs, they embody the essence of diner-style comfort food. Whether served as an appetizer, side dish, or topping for burgers, this easy recipe will have everyone reaching for more. Get ready to enjoy the irresistible crunch and flavor of homemade onion rings that are sure to become a favorite!
Ingredients
- 2 large yellow onions
- 1 cup all-purpose flour
- 1 tsp salt
- 3/4 tsp garlic powder
- 1 cup buttermilk
- 1 large egg
- 2 1/2 cups panko bread crumbs
- Vegetable oil for frying
Instructions
- Heat vegetable oil in a heavy-bottomed pot to 365°F.
- In a shallow dish, whisk together flour, salt, garlic powder, and other spices.
- Dredge onion rings in the flour mixture, then dip into a batter made from whisking buttermilk and egg into the remaining flour mixture.
- Coat each onion ring in panko breadcrumbs before carefully frying them in batches until golden brown (20-30 seconds per side).
- Drain on paper towels and serve warm.
- Prep Time: 15 minutes
- Cook Time: 15 minutes
- Category: Snack/Appetizer
- Method: Frying
- Cuisine: American
Nutrition
- Serving Size: 6 onion rings (120g)
- Calories: 290
- Sugar: 2g
- Sodium: 500mg
- Fat: 16g
- Saturated Fat: 2g
- Unsaturated Fat: 12g
- Trans Fat: 0g
- Carbohydrates: 32g
- Fiber: 3g
- Protein: 4g
- Cholesterol: 40mg