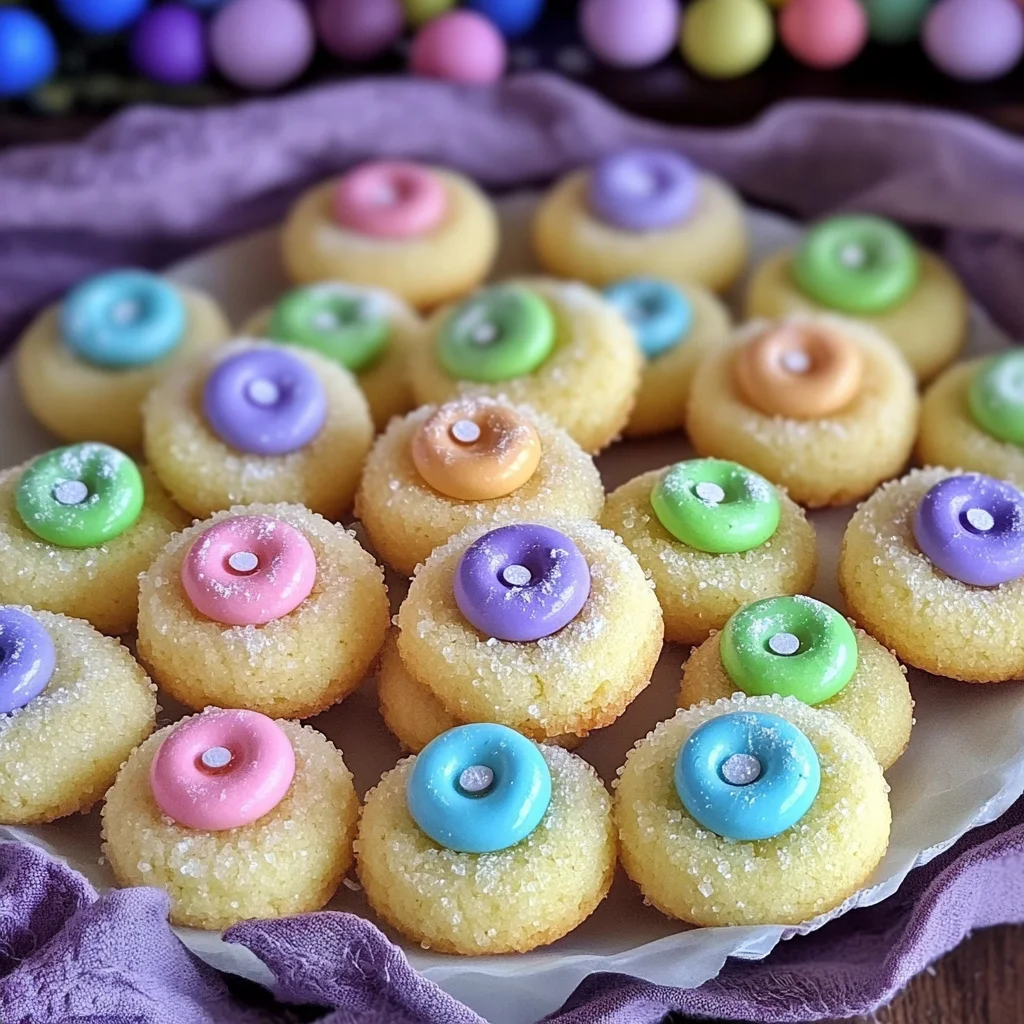
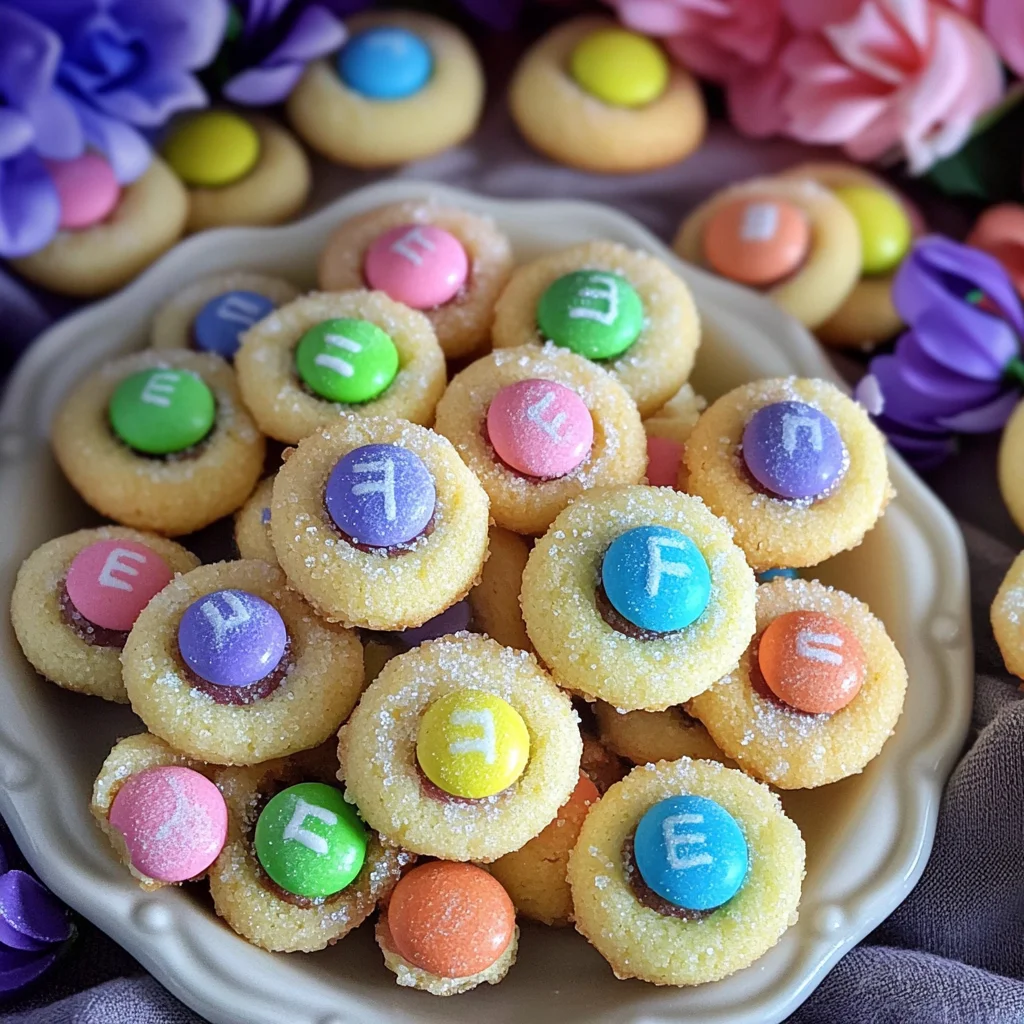
Easter Bunny Button Cookies are delightful miniature treats that bring joy to any Easter celebration. These one-bite cookies, adorned with colorful pastel candy centers, are perfect for gifting or enjoying yourself. Their vibrant colors and sweet flavors make them a festive addition to your holiday table, ensuring smiles all around!
Jump to:
- Why You’ll Love This Recipe
- Tools and Preparation
- Essential Tools and Equipment
- Importance of Each Tool
- Ingredients
- For the Dough:
- For Topping:
- How to Make Easter Bunny Button Cookies
- Step 1: Preheat the Oven
- Step 2: Cream Butter and Sugar
- Step 3: Add Egg Yolks and Vanilla
- Step 4: Incorporate Flour
- Step 5: Shape the Cookies
- Step 6: Add M&M Candy
- Step 7: Bake
- How to Serve Easter Bunny Button Cookies
- On a Festive Platter
- Gift Bags for Friends
- With Milk or Hot Chocolate
- As an Ice Cream Topping
- At an Easter Brunch
- For Egg Hunts
- How to Perfect Easter Bunny Button Cookies
- Best Side Dishes for Easter Bunny Button Cookies
- Common Mistakes to Avoid
- Storage & Reheating Instructions
- Refrigerator Storage
- Freezing Easter Bunny Button Cookies
- Reheating Easter Bunny Button Cookies
- Frequently Asked Questions
- Can I use different candies in Easter Bunny Button Cookies?
- How do I make these cookies more festive?
- Can I substitute ingredients in this recipe?
- How should I store leftover Easter Bunny Button Cookies?
- Final Thoughts
- 📖 Recipe Card
Why You’ll Love This Recipe
- Quick and Easy: With just a few simple steps, you can whip up these delightful cookies in no time.
- Perfect for Sharing: Bake a batch for Easter gatherings or as thoughtful gifts for friends and family.
- Fun to Decorate: The colorful M&M candy allows for creative decoration, making each cookie unique.
- Kid-Friendly: Children will love the fun shapes and sweet taste, making these cookies a hit with the little ones.
- Versatile Treat: These cookies are not just for Easter—enjoy them year-round for any occasion!
Tools and Preparation
To make your baking experience smooth and enjoyable, gather your tools before you start. Having everything ready will help you follow the recipe without interruptions.
Essential Tools and Equipment
- Mixing bowl
- Hand-held mixer
- Baking sheet
- Parchment paper or silicone baking mat
- Wire cooling rack
Importance of Each Tool
- Mixing bowl: A sturdy mixing bowl is essential for combining ingredients thoroughly.
- Hand-held mixer: This tool makes it easy to achieve a light and fluffy butter and sugar mixture quickly.
- Baking sheet: A good-quality baking sheet ensures even baking of your cookies.
- Wire cooling rack: Allowing cookies to cool on a wire rack prevents sogginess, keeping them crisp.
Ingredients
Miniature, one-bite cookies made with pastel candy centers. Easter Bunny Button Cookies are a great Easter gift idea, or just save them all for yourself!
For the Dough:
- 1 cup butter, (softened)
- 2/3 cup sugar
- 2 large egg yolks
- 1 teaspoon vanilla extract
- 2 1/3 cups all purpose flour
For Topping:
- 1/2 cup sanding sugar
- 1/2 cup chocolate M&M candy
How to Make Easter Bunny Button Cookies
Step 1: Preheat the Oven
Preheat your oven to 350 degrees. While the oven heats up, line a baking sheet with parchment paper or a silicone baking mat. This will prevent the cookies from sticking.
Step 2: Cream Butter and Sugar
In a mixing bowl, use a hand-held mixer to beat together the softened butter and sugar. Mix until the mixture is light and fluffy.
Step 3: Add Egg Yolks and Vanilla
Add in the egg yolks and vanilla extract. Beat until well combined.
Step 4: Incorporate Flour
Add the all purpose flour. Mix it into the butter mixture until just combined. Be careful not to over mix, as this can affect the texture of your cookies.
Step 5: Shape the Cookies
Portion out one teaspoon of dough and roll it into balls. Roll each ball into the sanding sugar, then place them on your prepared baking sheet.
Step 6: Add M&M Candy
Push a M&M candy into the center of each cookie ball gently.
Step 7: Bake
Bake for about 10 minutes. Once done, remove from oven and allow the cookies to cool on the baking sheet for 3-5 minutes before transferring them to a wire cooling rack to finish cooling.
Enjoy your delicious Easter Bunny Button Cookies!
How to Serve Easter Bunny Button Cookies
Easter Bunny Button Cookies are delightful treats that add a festive touch to any gathering. Here are some fun ways to serve them and make your Easter celebration even sweeter.
On a Festive Platter
- Arrange the cookies on a colorful platter surrounded by Easter-themed decorations. Use pastel colors to match the cookies.
Gift Bags for Friends
- Package the cookies in small gift bags tied with ribbon. They make perfect gifts for friends and family during Easter.
With Milk or Hot Chocolate
- Serve these cookies alongside a glass of milk or a warm cup of hot chocolate. The combination is sure to delight both kids and adults.
As an Ice Cream Topping
- Crumble the cookies on top of ice cream for an extra special dessert. The chocolate M&M center adds a nice touch.
At an Easter Brunch
- Include these cookies as part of your Easter brunch spread. Their cute design will impress guests, especially children.
For Egg Hunts
- Hide some cookies around your yard as part of an Easter egg hunt. Kids will love discovering both eggs and treats!
How to Perfect Easter Bunny Button Cookies
To ensure your Easter Bunny Button Cookies turn out perfectly every time, consider these helpful tips:
- Use softened butter: Make sure your butter is at room temperature for easy mixing, which helps create a light and fluffy texture.
- Don’t overmix the dough: Mix until just combined after adding flour. Overmixing can lead to tough cookies instead of tender bites.
- Chill the dough: If the dough is too sticky, refrigerate it for about 30 minutes before rolling into balls. This makes shaping easier.
- Uniform sizes: Use a cookie scoop to portion out equal amounts of dough for consistent baking times and cute presentation.
Best Side Dishes for Easter Bunny Button Cookies
Pairing side dishes with Easter Bunny Button Cookies can enhance your festive meal. Here are some delicious options:
- Deviled Eggs: Classic deviled eggs are always a hit at Easter gatherings, offering creamy flavors that complement sweet treats.
- Spring Salad: A fresh salad with mixed greens, strawberries, and nuts brings brightness to the table while balancing sweetness.
- Honey Glazed Carrots: These sweet carrots add a beautiful color and flavor contrast, making them a perfect addition to your spread.
- Roasted Asparagus: Lightly seasoned roasted asparagus provides a savory element that pairs well with sweet cookies.
- Potato Salad: Creamy potato salad can be made ahead and served cold, providing hearty satisfaction alongside desserts.
- Mini Quiches: Bite-sized quiches filled with veggies or cheese offer protein-rich options that everyone will enjoy.
- Fruit Platter: A colorful array of seasonal fruits adds freshness and natural sweetness that complements the cookies beautifully.
- Cheese Board: A selection of cheeses with crackers provides savory bites that balance out the sugary cookies perfectly.
Common Mistakes to Avoid
When making Easter Bunny Button Cookies, it’s easy to make a few common errors. Here are some mistakes to watch out for.
- Using cold butter: Always use softened butter for a light and fluffy texture. Cold butter will not blend properly with the sugar.
- Overmixing the dough: Avoid overmixing after adding flour. This can lead to tough cookies instead of soft, tender ones.
- Skipping the cooling time: Letting cookies cool on the baking sheet is important. They continue to bake slightly and firm up during this time.
- Not measuring ingredients accurately: Be precise with your measurements, especially for flour. Too much flour can affect the cookie’s texture.
- Ignoring oven temperature: Always preheat your oven before baking. An unheated oven can cause uneven baking and affect the cookie’s rise.
Storage & Reheating Instructions
Refrigerator Storage
- Store in an airtight container for up to 1 week.
- Keep cookies separated with parchment paper to avoid sticking.
Freezing Easter Bunny Button Cookies
- Freeze in an airtight container or freezer bag for up to 3 months.
- Layer parchment paper between cookies to prevent sticking.
Reheating Easter Bunny Button Cookies
- Oven: Preheat the oven to 350°F and warm cookies for about 5 minutes for fresh taste.
- Microwave: Heat one cookie at a time for about 10-15 seconds. Watch carefully to avoid overcooking.
- Stovetop: Place in a skillet over low heat for a couple of minutes until warmed through.
Frequently Asked Questions
Here are some common questions about Easter Bunny Button Cookies.
Can I use different candies in Easter Bunny Button Cookies?
Yes! Feel free to use other types of candy like jellybeans or chocolate chips based on your preference.
How do I make these cookies more festive?
You can add colorful sprinkles or edible glitter on top before baking for extra flair.
Can I substitute ingredients in this recipe?
Absolutely! You can substitute butter with coconut oil or use egg substitutes if needed.
How should I store leftover Easter Bunny Button Cookies?
Store them in an airtight container at room temperature or refrigerate them if you want them fresher longer.
Final Thoughts
Easter Bunny Button Cookies are not only delightful but also versatile. They are perfect for gifting or enjoying yourself! Feel free to customize them with different candies or decorations to make them uniquely yours.
Did You Enjoy Making This Recipe? Please rate this recipe with ⭐⭐⭐⭐⭐ or leave a comment.
📖 Recipe Card
Print
Easter Bunny Button Cookies
- Total Time: 25 minutes
- Yield: Approximately 24 cookies 1x
Description
Easter Bunny Button Cookies are the perfect festive treat for your holiday celebrations! These delightful, one-bite cookies feature a buttery base topped with colorful chocolate M&M candies that add a pop of sweetness and fun to any gathering. They are quick and easy to make, making them ideal for both baking novices and seasoned chefs alike. Whether you’re sharing with friends and family or keeping them all to yourself, these vibrant cookies are sure to bring smiles all around.
Ingredients
- 1 cup butter (softened)
- 2/3 cup sugar
- 2 large egg yolks
- 1 teaspoon vanilla extract
- 2 1/3 cups all-purpose flour
- 1/2 cup sanding sugar
- 1/2 cup chocolate M&M candy
Instructions
- Preheat your oven to 350°F (175°C) and line a baking sheet with parchment paper.
- In a mixing bowl, cream together the softened butter and sugar until light and fluffy.
- Add egg yolks and vanilla extract; mix until well combined.
- Gradually incorporate the flour until just combined, being careful not to overmix.
- Roll one teaspoon of dough into balls, coat in sanding sugar, and place on the prepared baking sheet.
- Gently press an M&M candy into the center of each cookie ball.
- Bake for about 10 minutes until lightly golden. Allow cooling on the baking sheet for 3-5 minutes before transferring to a wire rack.
- Prep Time: 15 minutes
- Cook Time: 10 minutes
- Category: Dessert
- Method: Baking
- Cuisine: American
Nutrition
- Serving Size: 1 serving
- Calories: 102
- Sugar: 6g
- Sodium: 47mg
- Fat: 6g
- Saturated Fat: 4g
- Unsaturated Fat: 2g
- Trans Fat: 0g
- Carbohydrates: 10g
- Fiber: 0g
- Protein: 1g
- Cholesterol: 16mg