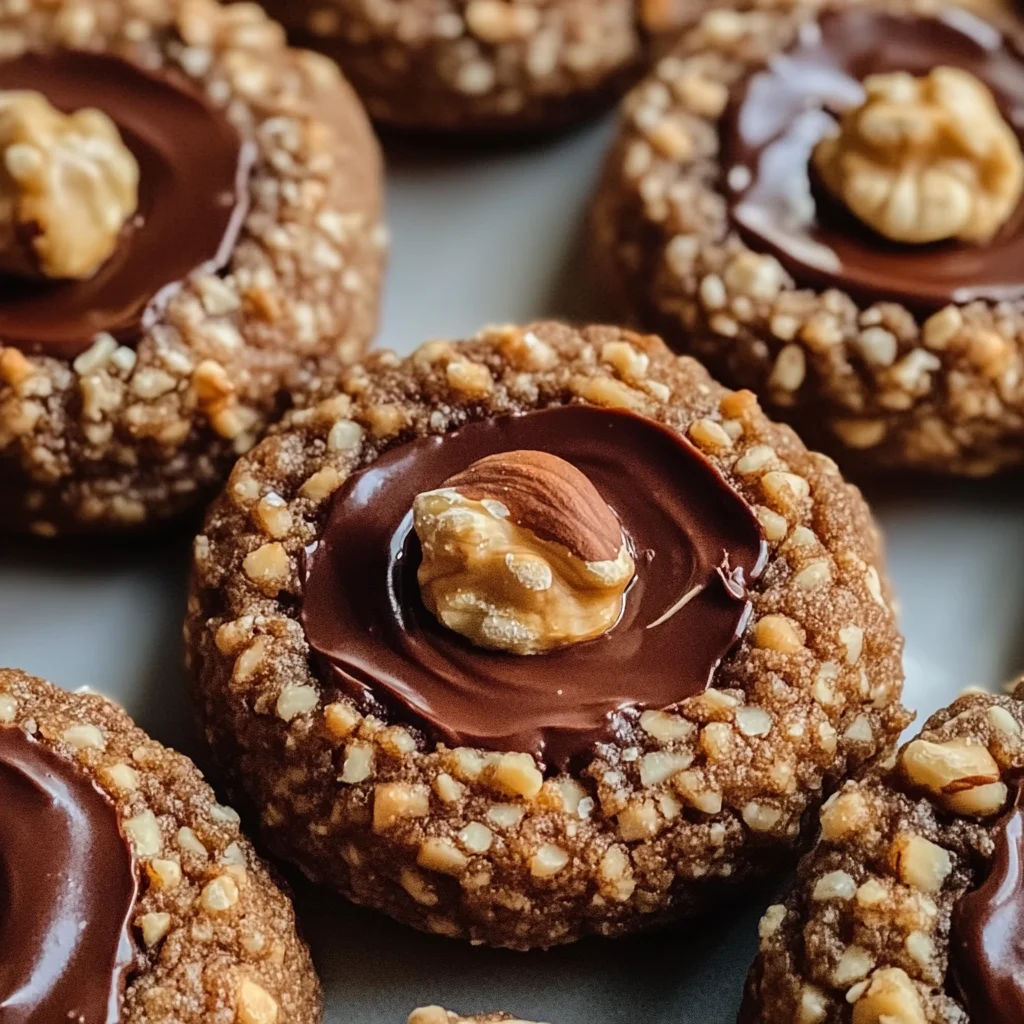
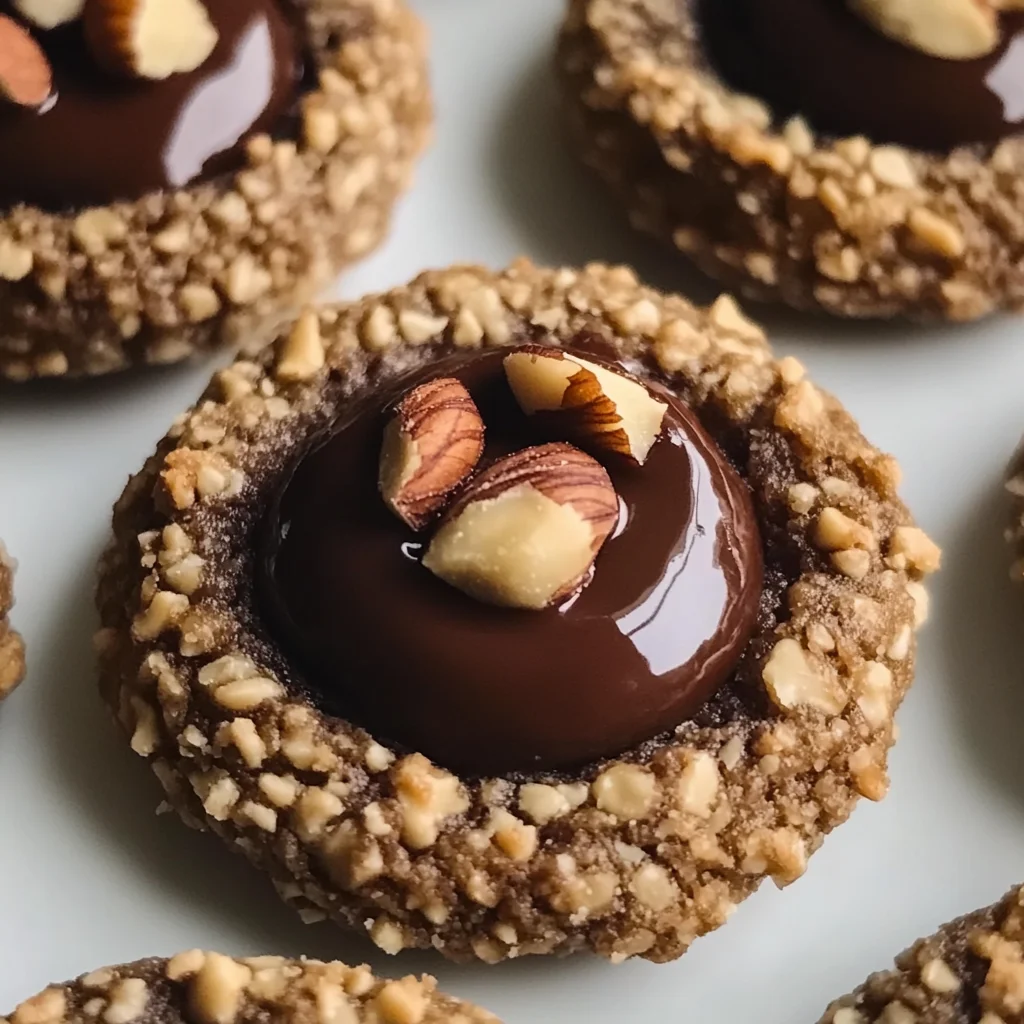
Chocolate Hazelnut Thumbprint Cookies Recipe are a delightful treat that everyone will adore. These cookies combine the rich flavor of chocolate with the nutty crunch of hazelnuts, making them perfect for any occasion. Whether it’s a holiday gathering, a birthday celebration, or just a cozy afternoon snack, these cookies stand out with their unique thumbprint design filled with creamy chocolate hazelnut spread. Easy to make and utterly delicious, they are sure to impress your family and friends.
Jump to:
- Why You’ll Love This Recipe
- Tools and Preparation
- Essential Tools and Equipment
- Importance of Each Tool
- Ingredients
- For the Cookies
- For the Filling
- How to Make Chocolate Hazelnut Thumbprint Cookies Recipe
- Step 1: Preheat the Oven
- Step 2: Cream the Butter and Sugar
- Step 3: Combine the Dry Ingredients
- Step 4: Mix Dry Ingredients into Butter Mixture
- Step 5: Shape the Cookies
- Step 6: Create Indentations
- Step 7: Bake the Cookies
- Step 8: Add Chocolate Filling
- Step 9: Cool and Serve
- How to Serve Chocolate Hazelnut Thumbprint Cookies Recipe
- With a Glass of Milk
- As Part of a Dessert Platter
- With Coffee or Tea
- With Ice Cream
- As Party Favors
- Topped with Whipped Cream
- How to Perfect Chocolate Hazelnut Thumbprint Cookies Recipe
- Best Side Dishes for Chocolate Hazelnut Thumbprint Cookies Recipe
- Common Mistakes to Avoid
- Storage & Reheating Instructions
- Refrigerator Storage
- Freezing Chocolate Hazelnut Thumbprint Cookies Recipe
- Reheating Chocolate Hazelnut Thumbprint Cookies Recipe
- Frequently Asked Questions
- Can I use other nuts instead of hazelnuts?
- How do I make these cookies gluten-free?
- What if I don’t have chocolate hazelnut spread?
- How long do these cookies last?
- Can I add other flavors?
- Final Thoughts
- 📖 Recipe Card
Why You’ll Love This Recipe
- Irresistible Flavor: The combination of chocolate and hazelnuts creates a rich taste that’s hard to resist.
- Easy to Prepare: With straightforward steps, you’ll have these cookies ready in no time.
- Perfect for Any Occasion: Whether for holidays or casual get-togethers, these cookies fit right in.
- Customizable: You can adjust the filling or toppings to suit your preferences.
- Great for Sharing: This recipe yields around 20 cookies, making it ideal for sharing with loved ones.
Tools and Preparation
Before diving into this delicious recipe, gather your tools to ensure a smooth baking experience. Having everything ready will make the process more enjoyable.
Essential Tools and Equipment
- Electric mixer
- Mixing bowls
- Whisk
- Baking sheets
- Parchment paper
Importance of Each Tool
- Electric mixer: Saves time and effort when creaming butter and sugar together.
- Mixing bowls: Keeps ingredients organized while allowing for easy mixing and measuring.
Ingredients
Here’s what you need for the Chocolate Hazelnut Thumbprint Cookies Recipe:
For the Cookies
- 1 cup (2 sticks) unsalted butter, softened
- 2/3 cup granulated sugar
- 2 teaspoons vanilla extract
- 2 cups all-purpose flour
- 1/2 cup cocoa powder
- 1/2 teaspoon salt
- 1/2 cup hazelnuts, finely chopped (for rolling)
For the Filling
- 1/2 cup chocolate hazelnut spread (such as Nutella)
- Extra whole hazelnuts for garnish (optional)
How to Make Chocolate Hazelnut Thumbprint Cookies Recipe
Step 1: Preheat the Oven
Preheat your oven to 350°F (175°C). Line two baking sheets with parchment paper to prevent sticking.
Step 2: Cream the Butter and Sugar
In a large mixing bowl, use an electric mixer to cream together the softened butter and granulated sugar until light and fluffy. Mix in the vanilla extract until well combined.
Step 3: Combine the Dry Ingredients
In a separate bowl, whisk together the all-purpose flour, cocoa powder, and salt until evenly mixed.
Step 4: Mix Dry Ingredients into Butter Mixture
Gradually add the dry ingredients to the butter mixture. Mix until well combined; the dough should be firm and pliable.
Step 5: Shape the Cookies
Roll the dough into balls about 1 inch in diameter. Roll each ball in finely chopped hazelnuts until coated. Place them on the prepared baking sheets, spaced about 2 inches apart.
Step 6: Create Indentations
Using your thumb or the back of a small spoon, press an indentation into the center of each cookie ball.
Step 7: Bake the Cookies
Bake in the preheated oven for about 12-14 minutes. The cookies should be set but not hard.
Step 8: Add Chocolate Filling
Once removed from oven and still warm, re-press indentations if they puffed up. Spoon about a teaspoon of chocolate hazelnut spread into each cookie’s center. Optionally, press a whole hazelnut into each spread for added crunch.
Step 9: Cool and Serve
Allow cookies to cool on baking sheets for 5 minutes before transferring them to a wire rack to cool completely. Enjoy your delightful Chocolate Hazelnut Thumbprint Cookies!
How to Serve Chocolate Hazelnut Thumbprint Cookies Recipe
These delightful Chocolate Hazelnut Thumbprint Cookies are perfect for any occasion. Whether you’re hosting a gathering or enjoying a quiet evening at home, here are some serving suggestions that will enhance your experience.
With a Glass of Milk
- Pair these cookies with a cold glass of milk. The creaminess of the milk perfectly complements the rich chocolate flavor.
As Part of a Dessert Platter
- Arrange the cookies on a dessert platter alongside other treats like brownies and fruit tarts. This creates an appealing display for guests.
With Coffee or Tea
- Enjoy the cookies with your favorite coffee or tea. The warm beverages balance the sweetness of the cookies.
With Ice Cream
- Top each cookie with a scoop of vanilla or hazelnut ice cream. This adds a delicious twist and makes for an indulgent dessert.
As Party Favors
- Package individual cookies in decorative bags as party favors. They make sweet gifts for guests to take home.
Topped with Whipped Cream
- Add a dollop of whipped cream on top of each cookie for an extra creamy texture and flavor boost.
How to Perfect Chocolate Hazelnut Thumbprint Cookies Recipe
To achieve the best results with your Chocolate Hazelnut Thumbprint Cookies, follow these helpful tips.
- Use Softened Butter: Make sure your butter is at room temperature for easy mixing, resulting in a light texture.
- Chill the Dough: If the dough is too soft, refrigerate it for 15-30 minutes before shaping. This helps maintain the cookie’s shape while baking.
- Don’t Overbake: Keep an eye on the baking time. Remove cookies when they are set but still soft to ensure they stay chewy.
- Re-Press Indentations: After baking, re-press the indentations if they puff up during cooking. This creates space for more filling.
- Choose Quality Spread: Use high-quality chocolate hazelnut spread for richer flavor and smoother texture in each bite.
- Experiment with Toppings: Feel free to try different toppings, such as chocolate sprinkles or crushed nuts, to customize your cookies.
Best Side Dishes for Chocolate Hazelnut Thumbprint Cookies Recipe
These cookies are versatile and can be paired with various side dishes to enhance their flavors. Here are some great options:
- Fresh Berries: Serve a mix of strawberries, blueberries, and raspberries for a refreshing contrast to the rich cookies.
- Cheese Plate: A selection of cheeses, particularly creamy brie or tangy goat cheese, pairs nicely with the sweet flavors.
- Chocolate Fondue: Set up a chocolate fondue station where guests can dip fruit and marshmallows alongside your cookies.
- Charcuterie Board: Include cured meats and olives on a charcuterie board; the savory elements complement the sweetness of the cookies.
- Fruit Salad: A light fruit salad made with citrus fruits balances out the richness of chocolate hazelnut thumbprint cookies.
- Nutty Granola: Offer nutty granola as an option; its crunchiness adds texture and contrasts well with soft cookies.
- Yogurt Parfait: Layer yogurt, granola, and berries in glasses for a healthy side that pairs beautifully with sweet treats.
- Hot Cocoa Station: Set up an inviting hot cocoa bar where guests can customize their drinks while enjoying these delicious cookies.
Common Mistakes to Avoid
Making Chocolate Hazelnut Thumbprint Cookies can be fun and rewarding, but it’s easy to make some common mistakes. Here are a few to watch out for:
- Not Softening Butter: Using cold butter will prevent the cookies from becoming fluffy. Always ensure your butter is softened to room temperature before mixing.
- Overmixing Dough: Mixing the dough too much can lead to tough cookies. Mix until just combined for the best texture.
- Skipping Chilling Time: Chilling the dough helps maintain the cookie shape while baking. Don’t skip this step; refrigerate for at least 30 minutes if possible.
- Incorrect Oven Temperature: An oven that is too hot or too cold can ruin the cookies. Use an oven thermometer to ensure accuracy.
- Filling Indentations Too Soon: Adding chocolate hazelnut spread while the cookies are too hot may cause it to melt away. Wait until they have slightly cooled.
Storage & Reheating Instructions
Refrigerator Storage
- Store in an airtight container for up to 5 days.
- Place parchment paper between layers to prevent sticking.
Freezing Chocolate Hazelnut Thumbprint Cookies Recipe
- Freeze unbaked cookie balls for up to 3 months, placing them in a zip-top bag.
- You can also freeze baked cookies for up to 2 months in an airtight container.
Reheating Chocolate Hazelnut Thumbprint Cookies Recipe
- Oven: Preheat to 350°F (175°C) and warm cookies for about 5-7 minutes.
- Microwave: Heat individual cookies on low power for about 10-15 seconds.
- Stovetop: Warm in a skillet over low heat, covered, for a couple of minutes.
Frequently Asked Questions
Here are some common questions about the Chocolate Hazelnut Thumbprint Cookies Recipe:
Can I use other nuts instead of hazelnuts?
Yes! Feel free to substitute walnuts or almonds if you prefer a different flavor or texture.
How do I make these cookies gluten-free?
You can replace all-purpose flour with a gluten-free flour blend that works as a 1:1 substitute.
What if I don’t have chocolate hazelnut spread?
You can use any chocolate spread or even peanut butter as an alternative filling.
How long do these cookies last?
When stored properly, baked cookies can last up to 5 days at room temperature and longer if frozen.
Can I add other flavors?
Absolutely! Adding orange zest or espresso powder can enhance the flavor profile of your cookies.
Final Thoughts
The Chocolate Hazelnut Thumbprint Cookies Recipe offers a delightful blend of chocolate and nutty flavors that many enjoy. These cookies are versatile and can be customized with various fillings or toppings according to your preference. Try them out and impress your friends and family!
Did You Enjoy Making This Recipe? Please rate this recipe with ⭐⭐⭐⭐⭐ or leave a comment.
📖 Recipe Card
Print
Chocolate Hazelnut Thumbprint Cookies
- Total Time: 34 minutes
- Yield: Approximately 20 cookies 1x
Description
Indulge in the joy of baking with our delightful Chocolate Hazelnut Thumbprint Cookies Recipe. These cookies are a perfect blend of rich chocolate and nutty hazelnut flavors, making them a crowd-pleaser for any occasion. Their unique thumbprint design, filled with creamy chocolate hazelnut spread, not only adds to their charm but also elevates their taste. Easy to prepare, these cookies are ideal for holiday gatherings, birthday parties, or simply enjoying as a cozy afternoon snack at home. With just a few simple ingredients and steps, you can impress your family and friends with these gourmet treats that are sure to become a beloved favorite.
Ingredients
- 1 cup unsalted butter
- 2/3 cup granulated sugar
- 2 teaspoons vanilla extract
- 2 cups all-purpose flour
- 1/2 cup cocoa powder
- 1/2 teaspoon salt
- 1/2 cup chopped hazelnuts (for rolling)
- 1/2 cup chocolate hazelnut spread
Instructions
- Preheat oven to 350°F (175°C) and line baking sheets with parchment paper.
- Cream softened butter and sugar until light and fluffy. Mix in vanilla extract.
- In a separate bowl, whisk flour, cocoa powder, and salt together. Gradually combine with the butter mixture.
- Roll dough into balls, coat in chopped hazelnuts, and place on baking sheets.
- Press an indentation into each cookie ball using your thumb or spoon.
- Bake for 12-14 minutes until set but soft.
- Spoon chocolate hazelnut spread into indentations after cooling slightly.
- Prep Time: 20 minutes
- Cook Time: 14 minutes
- Category: Dessert
- Method: Baking
- Cuisine: American
Nutrition
- Serving Size: 1 cookie (30g)
- Calories: 150
- Sugar: 8g
- Sodium: 45mg
- Fat: 10g
- Saturated Fat: 5g
- Unsaturated Fat: 4g
- Trans Fat: 0g
- Carbohydrates: 16g
- Fiber: 1g
- Protein: 2g
- Cholesterol: 30mg